
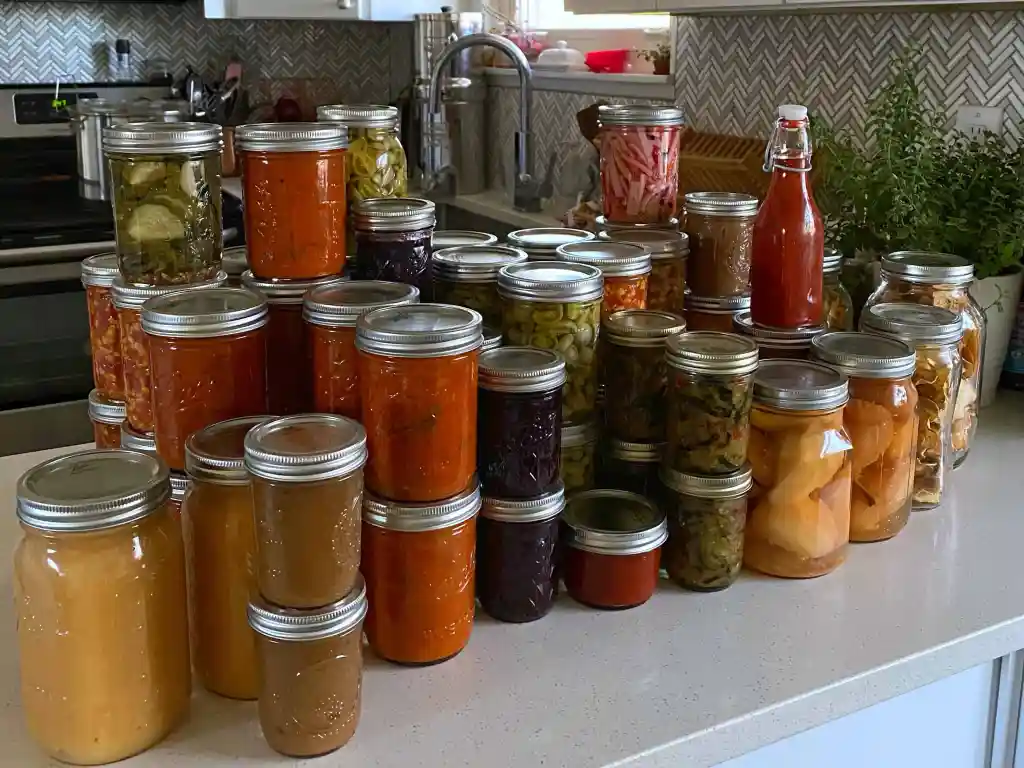
Jars look sweet. Lined up on a shelf, with lids, labels, and a small memory of summer, they suggest order, care, and a kind of homemade security. But the jar itself does not preserve food. The method does.
Canning in jars is not magic. It is a small system: product, acidity, cleanliness, lid, temperature, and time. If we skip one of those things with “my grandmother did it this way,” the jar can become more interesting than we would like.
This article is not here to scare anyone. It is here to put the basics in order: when water-bath canning is suitable, when it is not, what sterilization actually means, how to check a lid, and why some jars should not get a second chance.
What Water-Bath Canning Means
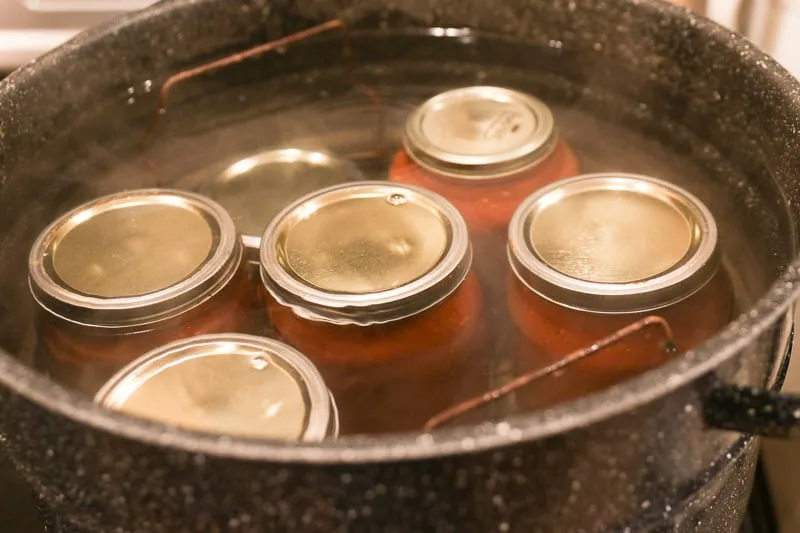
Water-bath canning is a method where filled jars are processed in boiling water for a specific amount of time. Usually, the jars need to be covered with water, and the processing time starts after the water returns to a boil.
The goal is to destroy some microorganisms, push air out of the jar, and allow the lid to form a vacuum seal as the jar cools. It sounds simple, but simple does not mean random.
Water-bath canning is mainly suitable for acidic foods or foods that have been properly acidified according to a tested recipe. This includes many jams, jellies, acidic pickles, relishes, and some fruits. It does not include everything we can push into a jar and boil “just in case.”
Important: processing time is not decoration in a recipe. If the recipe says a certain number of minutes, those minutes are not a suggestion for people with more free time. They are part of safety.
Which Foods Are Suitable for Water-Bath Canning
The simplest rule is this: acidic foods can be processed in a water bath, while low-acid foods should not be canned this way unless they are properly acidified and the recipe has been tested.
Suitable
- jams and preserves;
- jellies;
- many fruits;
- pickles with enough vinegar;
- acidic relishes and marinades.
Only With Proper Acidification
- tomatoes;
- tomato sauces;
- figs;
- some fruit sauces;
- mixed recipes with vegetables.
Not for Water Bath
- green beans;
- peas and corn;
- meat and fish;
- soups;
- mushrooms;
- most low-acid vegetables.
Tomatoes are often treated as automatically acidic, but it is not always that simple. Some varieties and recipes require extra acidification with lemon juice or citric acid. Figs can also be less acidic than we expect. This is the moment when “by eye” stops being culinary charm and starts becoming a risk.
Water Bath or Pressure Canning
There is one confusion worth clearing up. A regular water bath does not reach the temperatures needed to safely can low-acid foods. That is why green beans, meat, fish, soups, and similar foods are not canned by this method.
Low-acid foods require pressure canning with equipment designed for that purpose. This is not the same as simply owning a cooking pressure cooker or a multicooker. In home canning, safety is not a place for improvisation.
| Food | Water Bath | Pressure Canning | Note |
|---|---|---|---|
| Jam and preserves | Yes | Usually no | Follow a recipe and processing time. |
| Pickles | Yes, if acidic enough | Usually no | Do not reduce the vinegar randomly. |
| Tomatoes | Yes, if properly acidified | In some recipes | Follow a tested recipe. |
| Green beans | No | Yes | Low-acid food. |
| Meat and fish | No | Yes | Not canned in a water bath. |
| Soups and stews | No | Yes | Only with a suitable pressure canner and recipe. |
For low-acid foods, a dedicated pressure canner is the right category of equipment. A cooking pressure cooker, an Instant Pot-style appliance, or a multicooker is not a casual substitute for tested pressure-canning instructions.
Preparing Jars and Lids
Good preserving starts before the actual boiling. It starts with the jars, lids, and a little discipline that does not look romantic, but saves trouble.
- Use clean jars without cracks.
- Check the rims — they should not be chipped.
- Use healthy lids that fit properly.
- Do not rely on lids that are bent, rusty, or suspicious.
- Keep jars warm if you are filling them with hot food.
- Do not fill all the way to the top — leave the headspace required by the recipe.
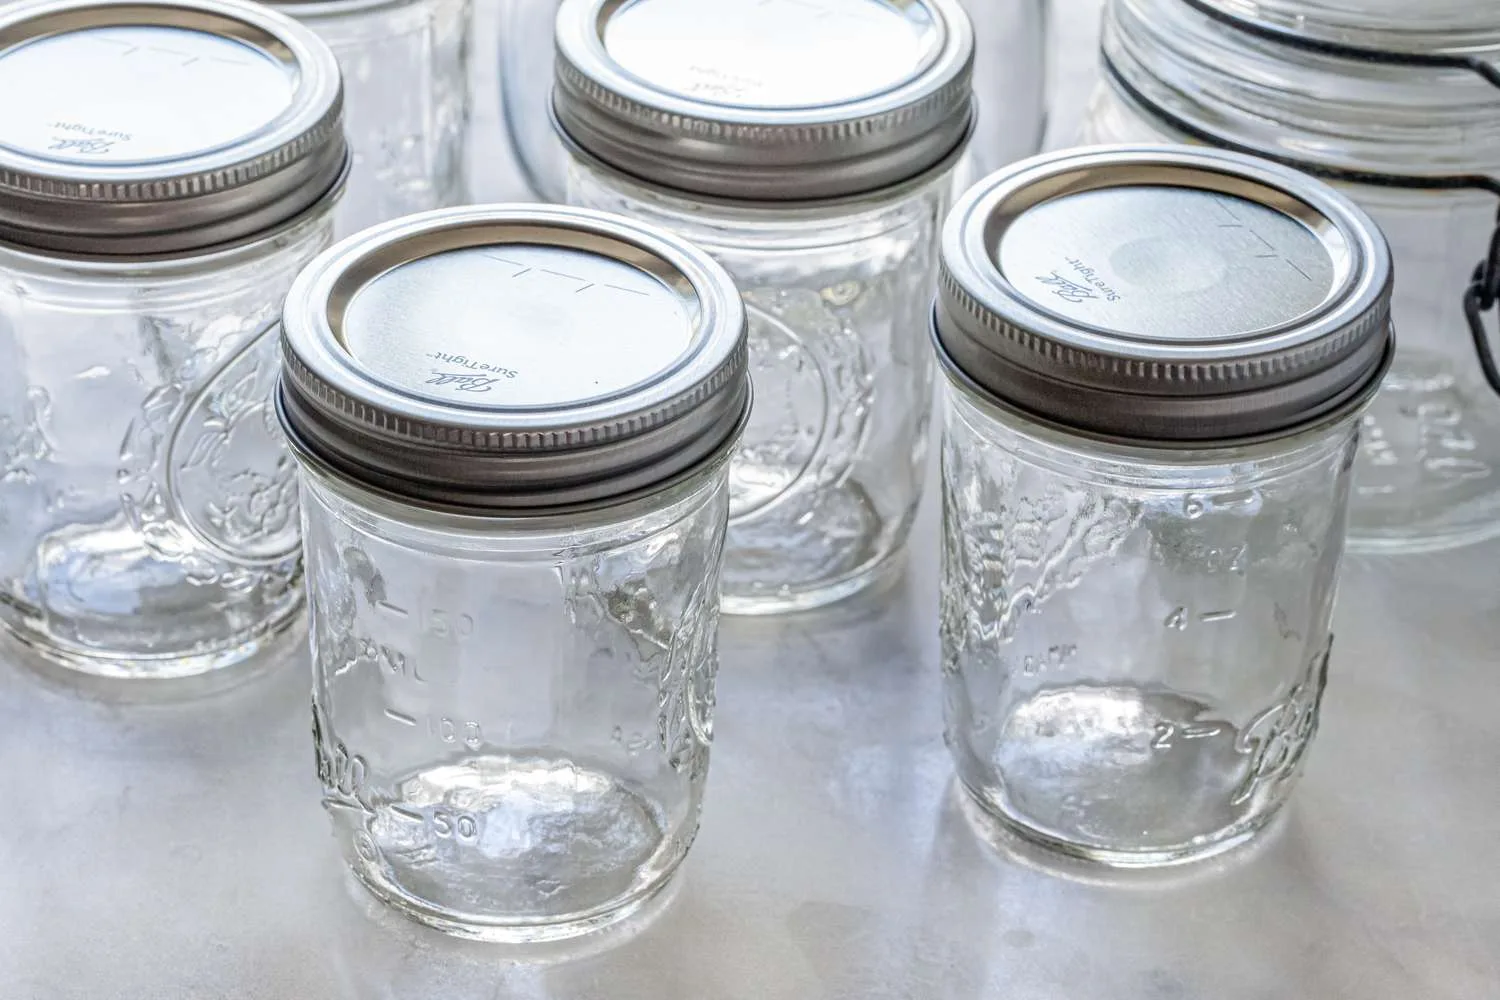
For small batches, wide-mouth Mason jars are practical because they are easier to fill, easier to clean, and far less dramatic when you are working with chunky sauces or pickled vegetables.
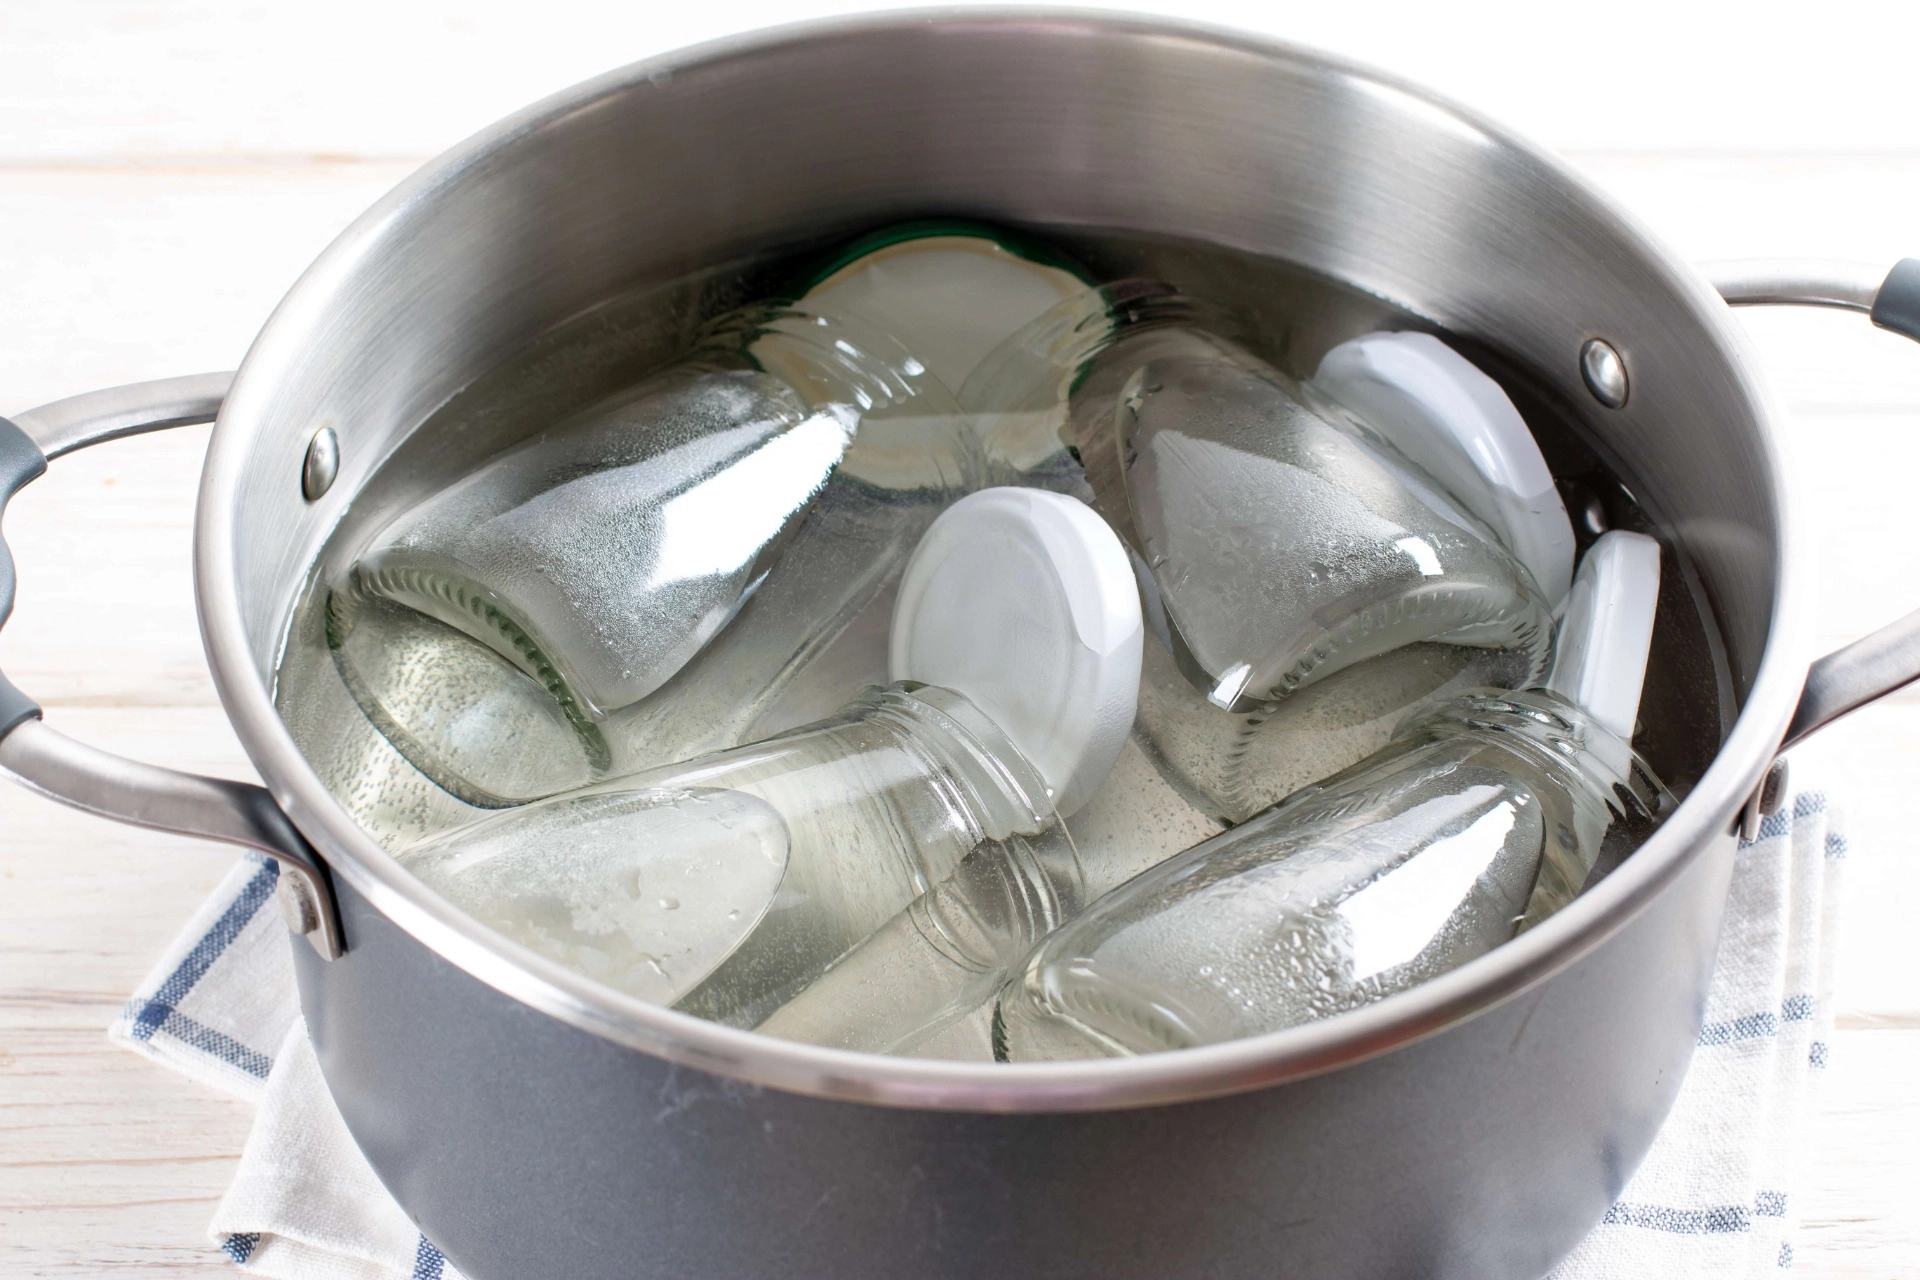
With some recipes, especially if the processing time is under 10 minutes, empty jars need to be sterilized first. This usually means boiling the jars for 10 minutes, with extra time added at higher elevation. If the processing time is 10 minutes or more, many recipes only require jars to be well washed and hot — but again, follow the specific recipe.
Steps for Water-Bath Canning
Water-bath canning is not complicated, but it is sequential. Most problems come from small shortcuts that supposedly save time and then remove all confidence from the jars.
For canning, use new proper canning lids rather than old, bent, or mystery lids from the back of the drawer. A pack of Ball canning lids is one of those boring things that matters more than it looks.
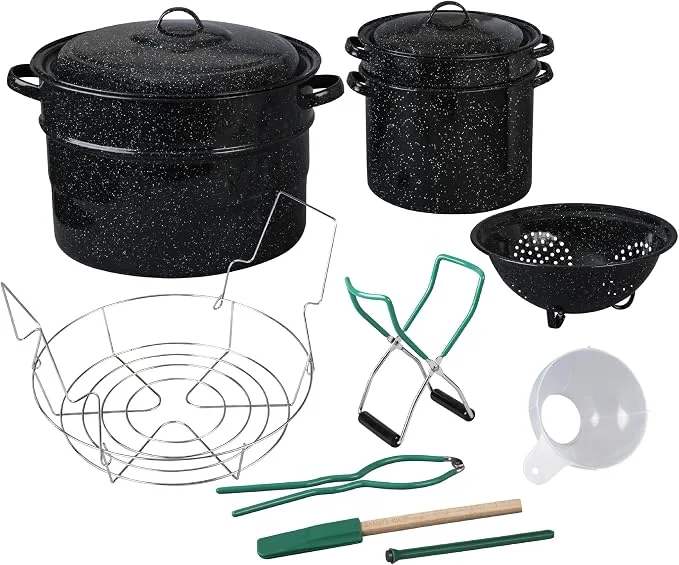
For water-bath canning, I would choose a proper canner with a rack
You can improvise many things in the kitchen. But once jars, boiling water, and shelf-stable preserves are involved, a large water-bath canner with a rack makes the process calmer and safer to handle.
A basic canning kit is useful for jams, pickles, tomato sauces, relishes, and small-batch preserving — especially when it includes a rack and the simple tools that keep hot jars from turning into a kitchen circus.
How to Check Whether a Jar Has Sealed
After processing, jars should be left alone to cool. This is not the moment to move them, turn them, press them, or interrogate them about whether they are ready.
Once they are cool, check the lids. A properly sealed lid is usually slightly concave and does not pop when pressed. There should be no leaking, foam, gas, or strange changes in color or smell.
- The lid should not pop up and down.
- It should not be bulging.
- The jar should not leak.
- If the lid has not sealed, the jar does not go to the pantry.
- A questionable jar goes into the refrigerator for quick use, or is discarded if there are signs of spoilage.
Small test, big peace of mind: if the lid pops, the jar has not sealed properly. We do not convince it that it has. We refrigerate it and use it soon, if the food looks and smells normal.
What to Do With a Questionable Jar
This is the section where we are not brave; we are sensible. If a jar looks strange, smells strange, has a bulging lid, foam, leaking, gas, cloudiness, or any change we do not like — we do not taste “just a little.”
We discard it safely. We do not give it to another person “to try.” We do not feed it to animals. We do not save a jar at any cost. Homemade preserves make sense when they bring flavor and peace of mind, not when they become a game of culinary roulette.
Common Mistakes
Most canning mistakes do not look dramatic at the moment. They sound like “I’ll just change it a little.” But the jar does not read our intentions. It reacts to acidity, temperature, time, and cleanliness.
Small Batches, Sauces, and Less Heroism
Not every preserving project needs to begin with 40 pounds of produce and a family mobilization. Sometimes the most reasonable option is a small batch — a few jars of sauce, jam, or pickled vegetables that you will actually use.
For preparing sauces, simmering, reducing, or working with small quantities, a multicooker or regular pressure cooker may be convenient. But it does not replace proper water-bath processing or pressure canning when the recipe requires it.
This is the difference between a tool that makes things easier and a method that makes them safe. The first is pleasant. The second is necessary.
Basic Water-Bath Canning Scheme
Not a recipe, but the order that is better not to skip
What You Need
- clean jars;
- good lids;
- a wide pot;
- a rack or towel on the bottom;
- a jar lifter;
- a clean towel;
- a tested recipe;
- a timer.
Order of Work
- Prepare the recipe and the ingredients.
- Wash and check the jars and lids.
- Keep jars warm if you are filling them with hot food.
- Fill the jars, leaving the required headspace.
- Wipe the rim of each jar.
- Place the lids and close according to the instructions.
- Put the jars into the water bath, covered with water.
- Start timing after the water returns to a boil.
- Remove the jars and let them cool undisturbed.
- Check the lids after full cooling.
When Canning in Jars Makes Sense
It makes sense when you have good produce, a good recipe, and the wish to keep the taste of the season. It makes sense when you are making jam, pickles, sauce, or a few jars you will actually use.
It does not make sense when the product is questionable, the recipe is vague, the lids are from the “they will probably do” category, and the mood is “let’s just finish this somehow.” Jars do not like “somehow.”
Canning in jars is a beautiful skill. It connects us to the kitchens of our mothers and grandmothers, but we do not have to repeat everything exactly. We can keep the gesture, the flavor, and the order, and add today’s knowledge about safety. That seems like the best version to me — tradition, but with an awake head.
This post may contain affiliate links. As an Amazon Associate, I earn from qualifying purchases.