Pruning is one of those orchard jobs that looks far more complicated before the first cut. With a young fruit tree, every branch seems important. With an older tree, it can be difficult to know where to begin.
The good news is that a home orchard does not require you to master every professional training system. What matters more is understanding what you are trying to achieve - a strong framework, good light inside the canopy, enough air movement and a sensible balance between growth and fruit production.
Pruning is not a competition to see how many branches you can remove. For beginners, the safest approach is usually the opposite: look at the tree first, remove what is clearly unnecessary, and avoid making major changes if you cannot explain why you are making them.
What Are We Actually Doing When We Prune a Fruit Tree?
A tree can grow without human intervention, but in an orchard we have different goals. We want a canopy we can reach, branches strong enough to carry fruit, and enough light to reach the productive parts of the tree.
When the canopy becomes too dense, the inner branches gradually lose light. Leaves and fruit dry more slowly after rain, air movement is reduced, and in some species this can create better conditions for disease.
Pruning can help with:
- better light penetration through the canopy;
- better air circulation between branches;
- removing dead, diseased or damaged wood;
- building a stronger framework in young trees;
- making spraying and harvesting easier;
- maintaining a better balance between new growth and fruiting.
If you cannot explain why you want to remove a healthy branch, leave it for now and look at the tree again later. A moderate mistake is usually much easier to correct than an overly aggressive cut.
When Should Fruit Trees Be Pruned?
There is no single pruning date that is correct for every fruit tree. Timing depends on the species, the age of the tree, the climate and the purpose of the pruning.
In a home orchard, the main pruning period is often late winter to early spring, with lighter corrective pruning during the growing season.
| Period | What is usually done | What to keep in mind |
|---|---|---|
| Late winter / early spring | Training, thinning and removing problem branches | Avoid heavy pruning immediately before or during severe cold. |
| Late spring / summer | Light corrections, removing vigorous upright shoots and unwanted growth | Summer pruning should be moderate, especially during very hot weather. |
| After damage | Removing broken, dead or diseased wood | These branches do not always need to wait for an ideal calendar date. |
I would not use a fixed rule such as “all fruit trees should be pruned in February.” Cherries, peaches, apples and apricots do not all respond in exactly the same way, and a mild winter in one region may be very different from conditions in a colder or higher-elevation garden.
It is also worth watching the weather forecast. If a period of severe frost is coming, larger cuts are usually better postponed.
Where to Start When You Begin Pruning
Before making the first cut, walk around the tree. Look at it from several sides and identify the obvious problems. It sounds basic, but it prevents a surprising amount of unnecessary cutting.
With most trees, a sensible first pass includes looking for:
- dead branches;
- broken or damaged branches;
- heavily diseased wood;
- branches rubbing against one another;
- growth directed inward toward the center of the canopy;
- strong upright shoots that overcrowd the canopy;
- suckers growing from the rootstock below the graft union.
Then step back and look again. Quite often, after removing only a few clearly problematic branches, the canopy already looks much more open and there is no reason to keep cutting.
How to Make a Good Pruning Cut
Where the cut is made matters just as much as which branch you choose to remove.
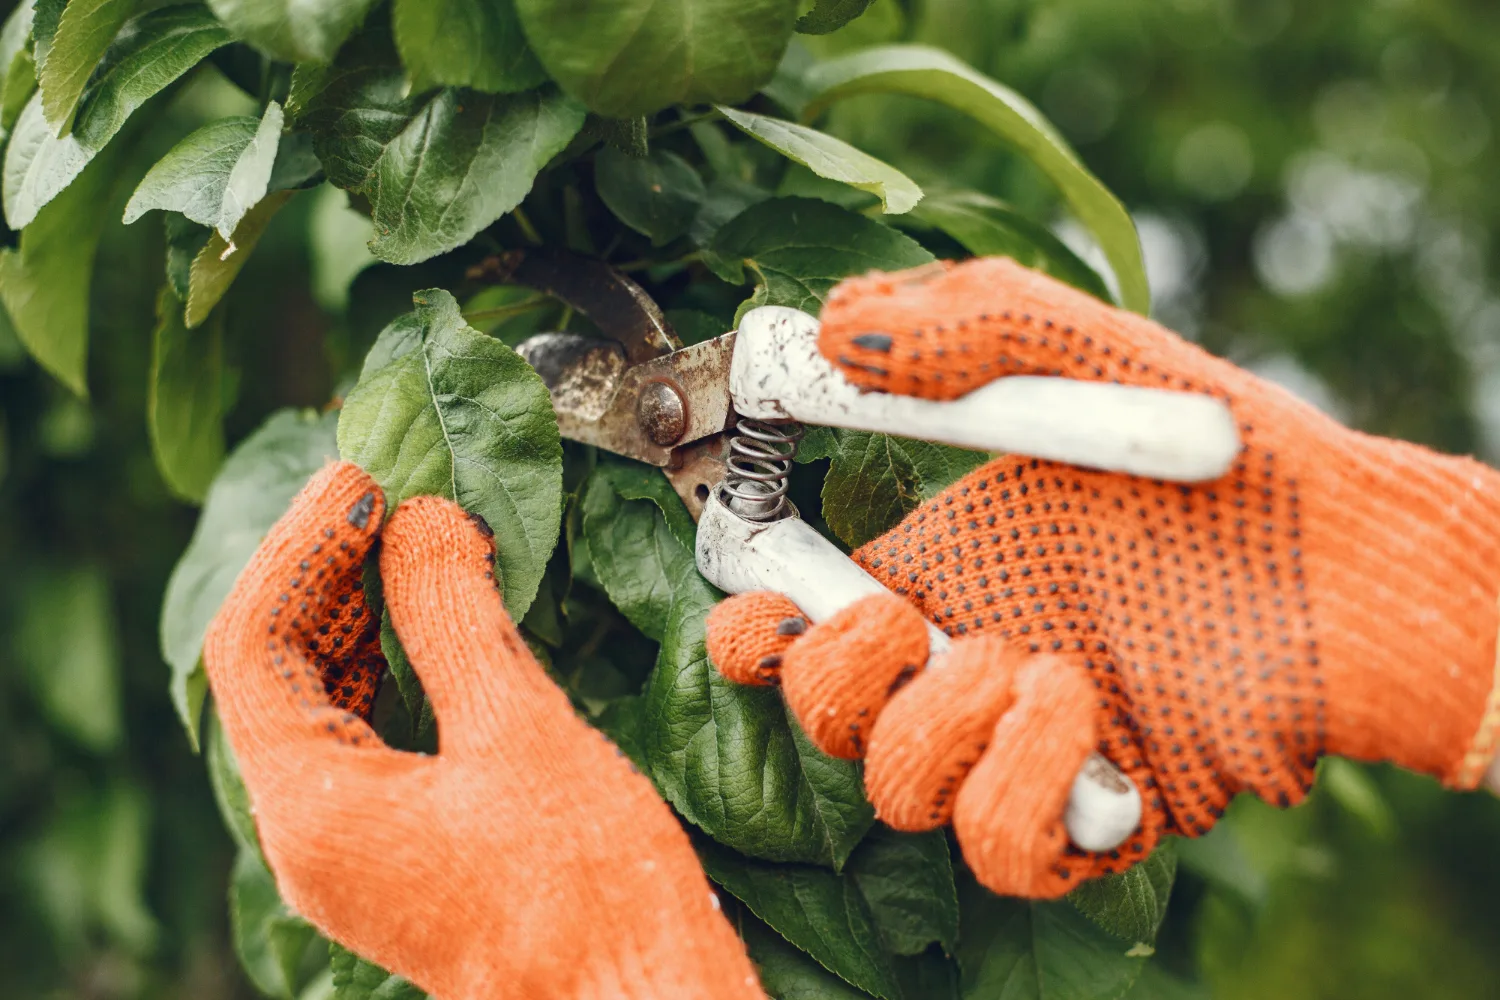
When removing an entire branch, the cut should be neither too close to the trunk nor so far away that a long stub is left behind. At the base of a branch there is usually a slightly raised area known as the branch collar. This should be preserved because it is involved in the tree's natural wound-closing process.
For larger branches, avoid making one single cut from the top. The weight of the branch can tear the bark and leave a much larger wound. A safer method is to reduce the weight of the branch first with a series of cuts and then make the final cut close to the branch collar.
A clean cut closes more effectively than crushed or torn wood. If your pruners start squeezing a branch instead of cutting through it cleanly, it may be time to sharpen them or move to a tool designed for thicker wood.
This post contains affiliate links. As an Amazon Associate, I earn from qualifying purchases at no extra cost to you.
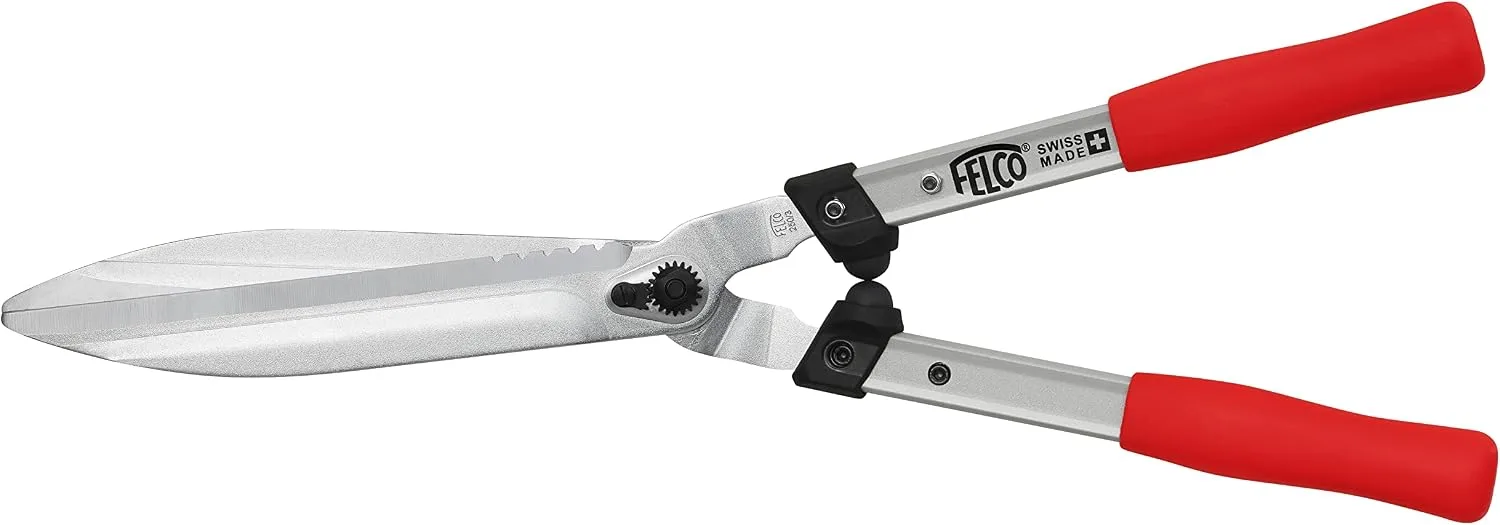
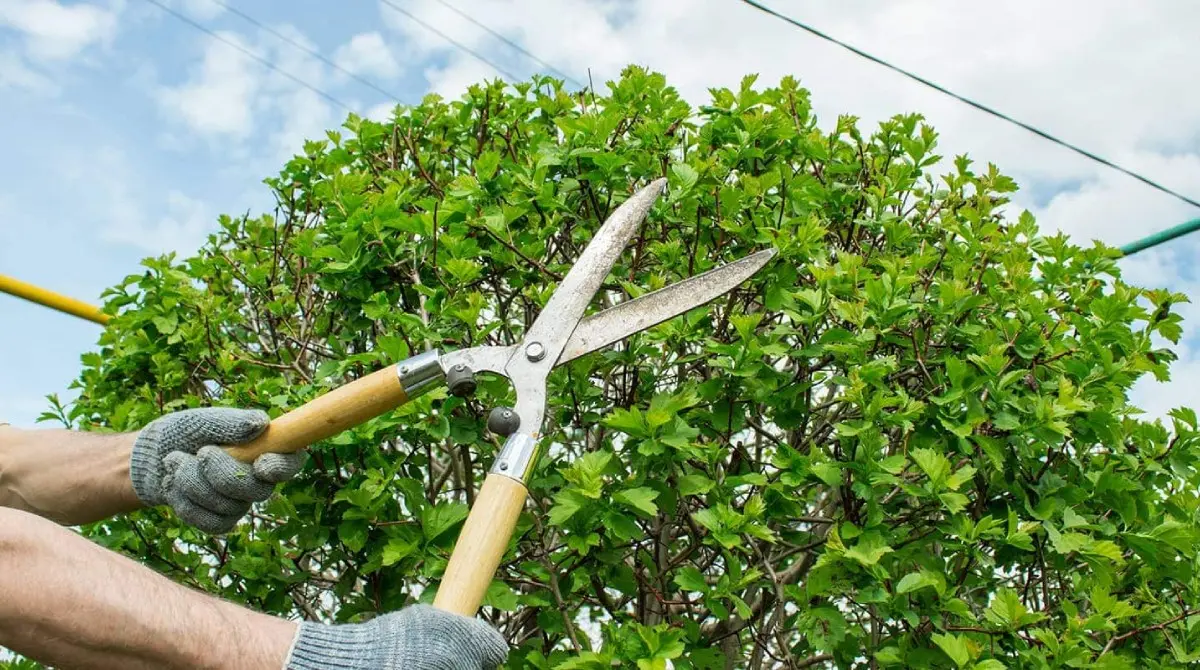
These are hedge shears rather than fruit-tree pruners, but they can still earn their place in a garden where the orchard is surrounded by hedges and woody shrubs.
The FELCO F250-57 is useful for shaping and maintaining that surrounding growth. I would keep it for hedges and shrubs rather than using it for structural cuts on fruit trees, where bypass pruners, loppers or a pruning saw are the better tools.
Young Trees and Mature Fruiting Trees Need Different Pruning
With a young fruit tree, the main goal is to create a strong future canopy. That means choosing well-positioned main branches and preventing too much growth from competing for the same space.
Heavy pruning is particularly undesirable at this stage. If a large proportion of new growth is removed every year, the tree may respond with even stronger vegetative growth. The result can be plenty of long shoots without a better overall structure.
Once a tree is in regular production, the job changes. The framework is already established, and pruning becomes more about keeping the canopy open, accessible and productive. Over time, some fruiting wood becomes less vigorous, dead branches appear and the interior of the canopy gradually becomes crowded.
In this situation, regular moderate pruning is usually far better than leaving a tree untouched for five years and then removing half the canopy in a single season.
The Most Common Fruit Tree Pruning Mistakes
Most pruning problems do not come from one bad cut. They come from an approach that is repeated year after year.
| Mistake | What can happen |
|---|---|
| Pruning too heavily | The tree may respond with vigorous vegetative growth and numerous strong shoots. |
| Never pruning | The canopy gradually becomes crowded, light levels fall and harvesting becomes more difficult. |
| Leaving long stubs | The remaining wood may die back and the wound may close more slowly. |
| Cutting too close to the trunk | The branch collar can be damaged, making natural wound closure more difficult. |
| Using the wrong tool on a thick branch | Bark can tear, cuts become uneven and the wound becomes larger than necessary. |
| Using the same pruning method on every fruit tree | Different species respond differently and carry fruit on different types of wood. |
Another common mistake is trying to make the canopy look perfectly tidy, almost like an ornamental shrub. A fruit tree does not need to be perfectly symmetrical. Strong branch angles, good light and sensible distribution of growth matter much more.
There is also a practical limit to what should be reached from the ground. Once the tree becomes taller, the temptation is to climb a ladder with a saw or stretch too far from an unstable position. That is where a long-reach pruning tool can be useful.
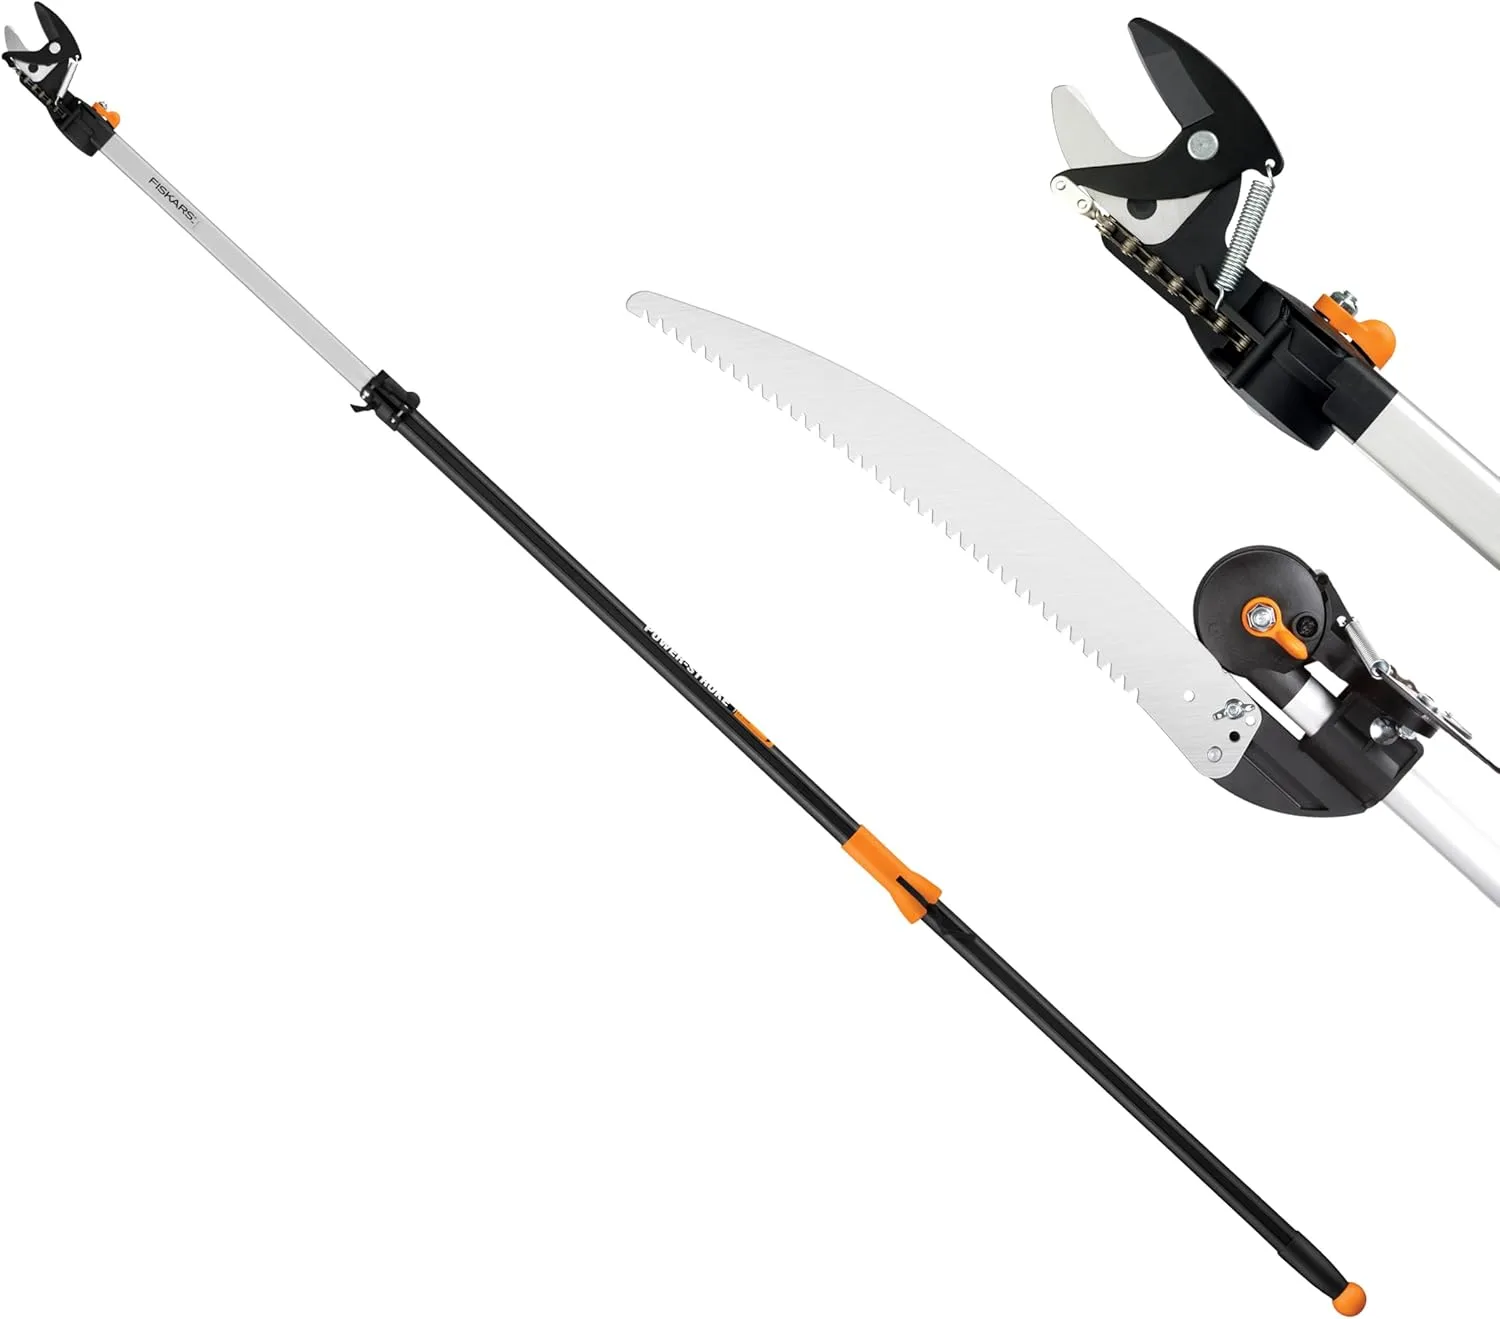
For branches that are difficult to reach safely from the ground, an extendable tool can be much more practical than repeatedly moving a ladder around the tree.
This Fiskars model combines a pole pruner with a pruning saw, so it can handle both smaller high branches and thicker wood. I would still work slowly and make sure the branch has a clear place to fall before cutting overhead.
The Pruning Tools You Actually Need
For a few fruit trees in a home garden, you do not need an entire collection of tools. Three good tools are usually more useful than ten mediocre ones.
- Bypass pruners - for thinner branches and young shoots.
- Loppers - for branches that are too thick for ordinary hand pruners.
- Pruning saw - for thicker wood.
A telescopic tool can also be useful for taller trees, but it should not encourage you to make cuts blindly above your head. With large limbs and work at height, safety matters more than finishing the entire tree in one afternoon.
Keep tools sharp and reasonably clean. If you have been cutting clearly diseased wood, cleaning the cutting surfaces before moving to another tree is a sensible precaution.
Pruning Gets Easier Every Year
The first few pruning sessions are usually the most uncertain. After that, you begin to recognize new shoots, older fruiting wood, branches that are repeatedly shaded and places where the canopy becomes crowded every season.
One of the most useful habits is to look at the trees throughout the year, not only on pruning day. Watch them during flowering, after the canopy fills with leaves and when the branches are carrying fruit. At those stages it becomes much easier to see which parts of the canopy are working well and which are creating problems.
If you are a beginner, start with what is obvious: dead, broken, diseased, crossing and inward-growing wood. Then stop and look at the tree again.