
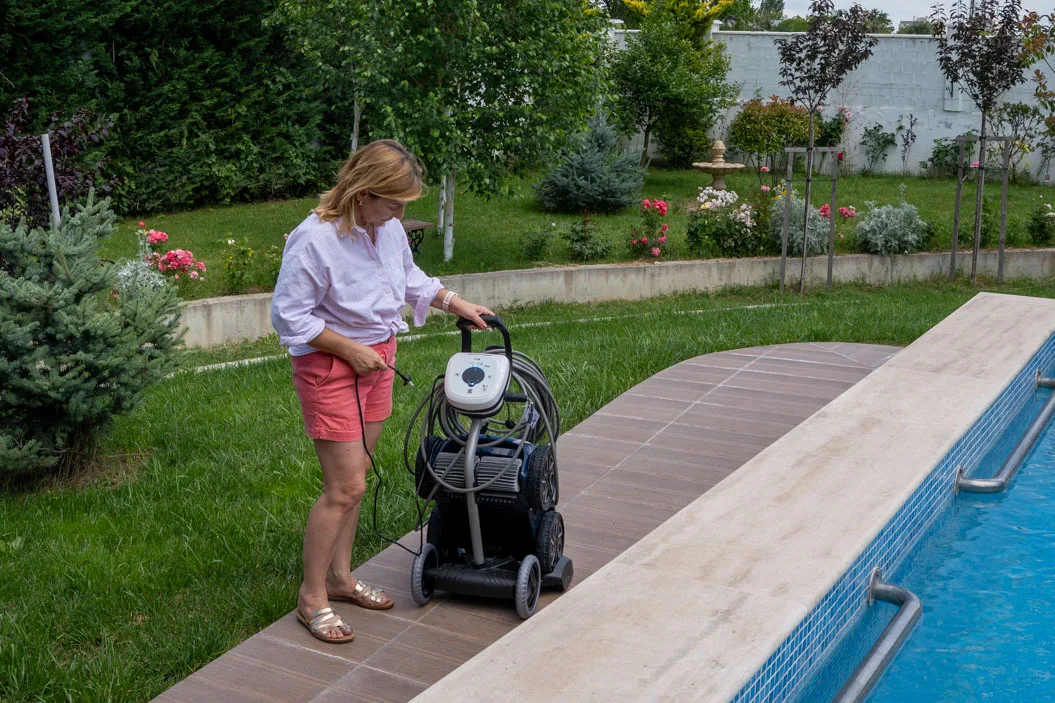
A green pool is one of those sights that can quickly spoil the pleasure of having a garden. I’ve been there - you wake up after a hot weekend or a heavy summer storm, and instead of a crystal-clear blue oasis, you’re looking at something much closer to a swamp.
Heat, rain, dust, leaves, weak filtration or simply a missed day of maintenance can all contribute. The good news is that a green pool does not have to become a week-long disaster. A clear step-by-step routine makes the job much easier.
The most important lesson I’ve learned from maintaining our pool is simple: water does not forgive long delays.
If something looks wrong, I react immediately. The longer green water sits, the more work follows - more filtration, more brushing, more chemicals and, inevitably, more frustration.
This is the routine I use when the water starts going in the wrong direction: test first, remove debris, treat the water, keep the filtration working and clean the surfaces thoroughly.
Why Does a Swimming Pool Turn Green?
Most of the time, the obvious green color is associated with algae. Warm water, strong sunlight and insufficient disinfectant create the conditions in which algae can multiply quickly.
In our yard, the most difficult periods are usually the hottest summer days and the days after strong wind or storms. Dust, leaves, insects and other debris all end up in the water, and the pool suddenly needs much more attention than it did a few days earlier.
Hard water is another part of our pool maintenance. Our water contains a lot of minerals, so I also pay attention to pH, alkalinity and calcium hardness rather than looking only at chlorine.
When the pool changes color, my first step is always testing. Adding products blindly usually makes troubleshooting harder because you no longer know which part of the water balance is actually causing the problem.
Step 1: Test the Water Before Adding Anything
The first instinct when a pool turns green is often to add a large amount of chlorine and hope for the best. I prefer to test first.
pH is one of the first values I check, together with alkalinity and, because of our water, calcium hardness. Knowing what is happening in the water makes the next step much more predictable.
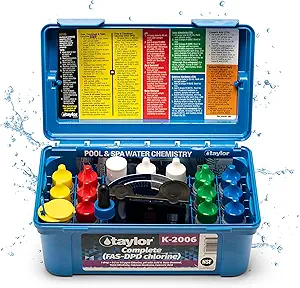
Pool maintenance
Taylor Service Complete Test Kit
This is the testing kit I recommend when you want more information than a basic strip provides. With hard water, being able to check calcium hardness and alkalinity as well as pH is particularly useful.
View on AmazonStep 2: Remove Leaves, Insects and Debris
Before I start the main treatment, I remove as much physical debris as possible. Leaves, twigs, dead insects and anything sitting on the bottom only make the cleaning process more difficult.
I use a deep pool net for both the surface and the bottom. It is not the glamorous part of pool ownership, but clearing the pool before treatment makes everything that follows easier.
I also check the skimmer baskets and make sure water can move freely through the circulation system.
Step 3: Shock Treatment
Once the water has been tested and the pH is where I want it, I move on to shock treatment. In my routine, this is the point where the disinfectant level is raised enough to deal with the algae problem.
I normally aim for a pH around 7.2-7.4 before the main chlorine treatment, then follow the instructions for the specific shock product I am using.
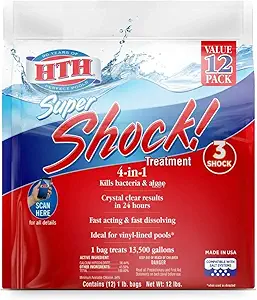
Water treatment
HTH Super Shock Treatment
This is the type of strong shock treatment I use when I need to move the pool from green back toward clear water. I prefer to carry out the treatment in the evening and follow the product instructions carefully.
View on AmazonWith mineral-heavy water, I sometimes see a white crust around the waterline or lingering cloudiness. For that reason I also keep an eye on scale and mineral deposits rather than assuming every cloudy pool is still an algae problem.
Step 4: Keep the Filtration Running
Killing algae is only part of the job. The filtration system then has to remove what is left suspended in the water.
When our pool is green, I keep the pump running continuously during the cleanup period. The filter also needs more attention than usual because it can load up quickly.
With a sand filter, that means checking whether backwashing is needed. With a cartridge system, the cartridge may need cleaning more frequently.
Chemicals may change the water, but filtration is what finishes the job.
Step 5: Clean the Floor, Walls and Waterline
Algae does not simply float in the water. It also settles and clings to pool surfaces. That means the floor, walls and especially the waterline need attention even when the water has already started looking better.
This is the stage where a robotic pool cleaner saves me the most time. I use the Zodiac Alpha RA6900iQ, which is sold in the US market as the Polaris ALPHA iQ+.
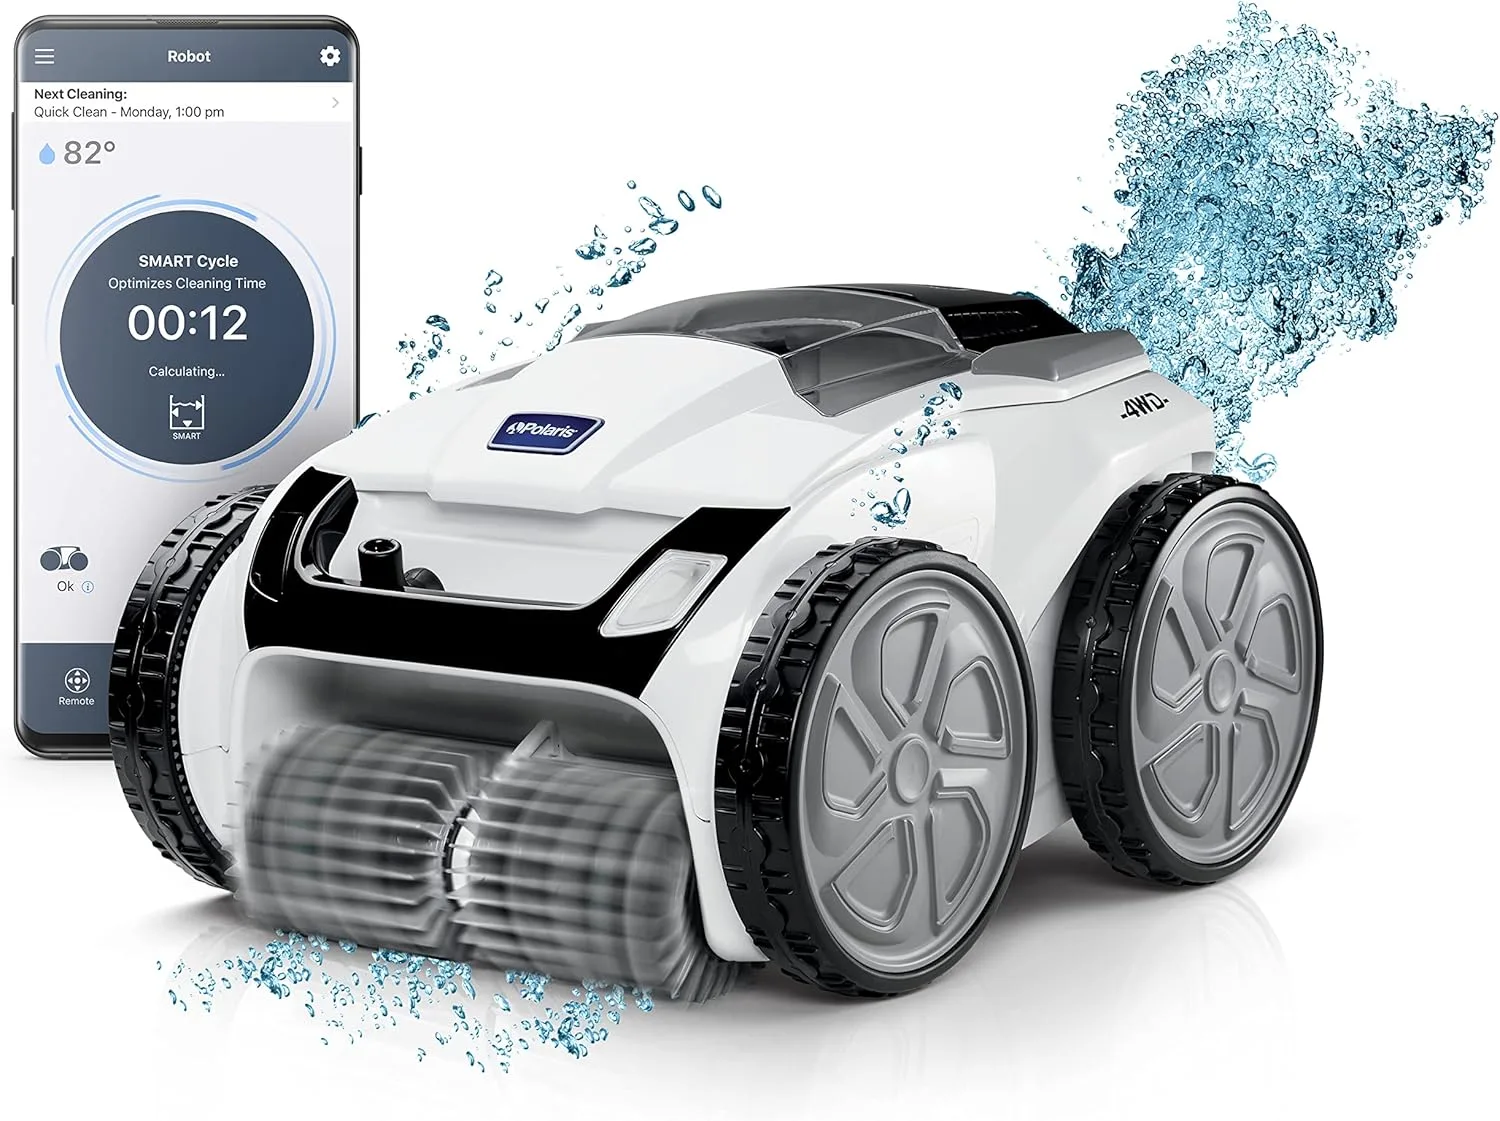

Robotic pool cleaner
Polaris ALPHA iQ+
This is the tool that saves me the most manual work. It cleans the floor, climbs the walls and scrubs the waterline, where residue tends to collect.
For me, the biggest advantage is simple: I do not have to manually brush every surface each time the pool needs a deeper cleanup.
View on Amazon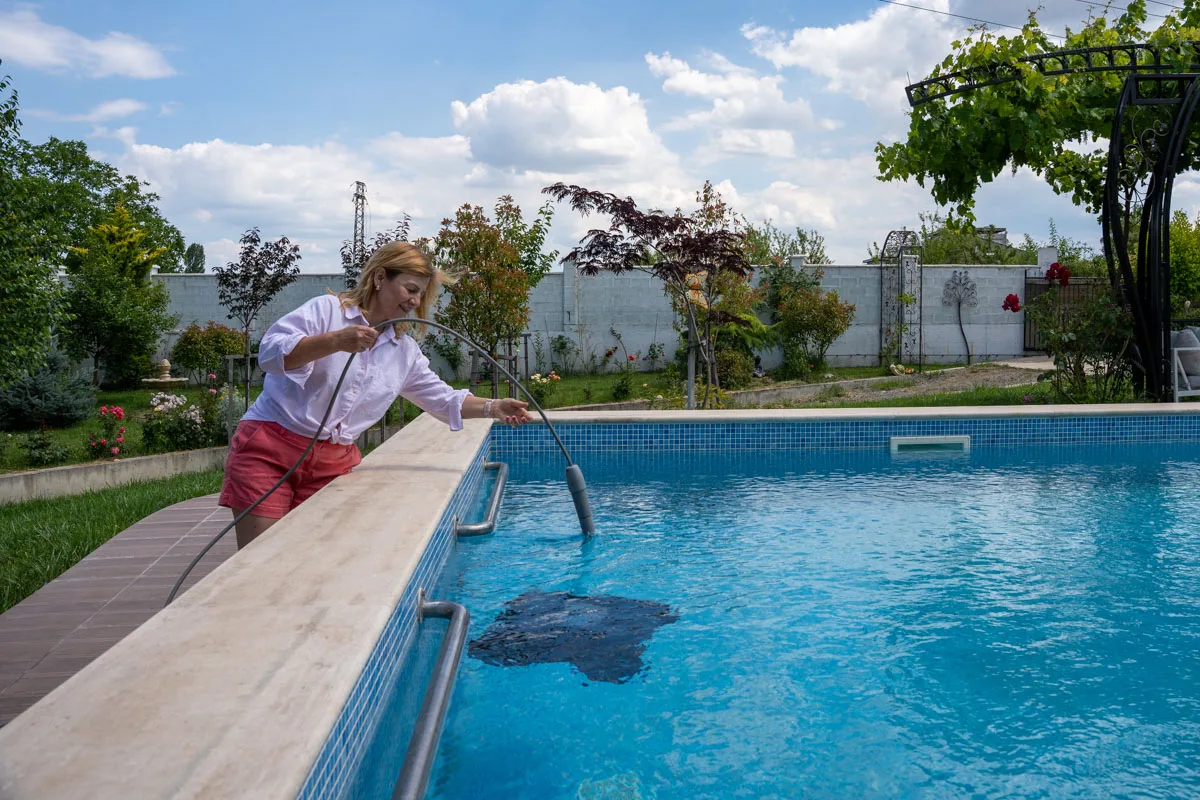
My Green-to-Blue Pool Checklist
- Remove debris: take out leaves, insects and larger material first.
- Test the water: check pH, alkalinity and, where relevant, calcium hardness.
- Balance: correct the water before the main treatment.
- Shock: use the chosen chlorine treatment according to its instructions.
- Circulate: keep the filtration system working through the cleanup.
- Clean surfaces: brush or use a robotic cleaner on the floor, walls and waterline.
- Clean the filters: wash the robot filter and service the main pool filter as needed.
- Retest: if the water is still cloudy, test again before adding more products.
How I Try to Prevent the Pool From Turning Green Again
The easiest green pool to clean is the one that never gets green in the first place.
I try to stay consistent with testing, filtration and surface cleaning. After storms or very hot periods, I pay closer attention because that is when our pool tends to change most quickly.
I also run the robotic cleaner regularly rather than waiting until the floor and waterline are visibly dirty. Ten minutes of attention at the right time is much easier than spending several days trying to rescue neglected water.
My routine for a green pool is straightforward: test first, remove debris, balance and treat the water, keep filtration running, then clean the surfaces thoroughly.
The important part is not to start adding one product after another without knowing what the water is doing. A little testing and a logical sequence save a lot of unnecessary work.
Hard water can make maintenance slightly more demanding, but with regular checks and the right tools it becomes a routine rather than a crisis.