
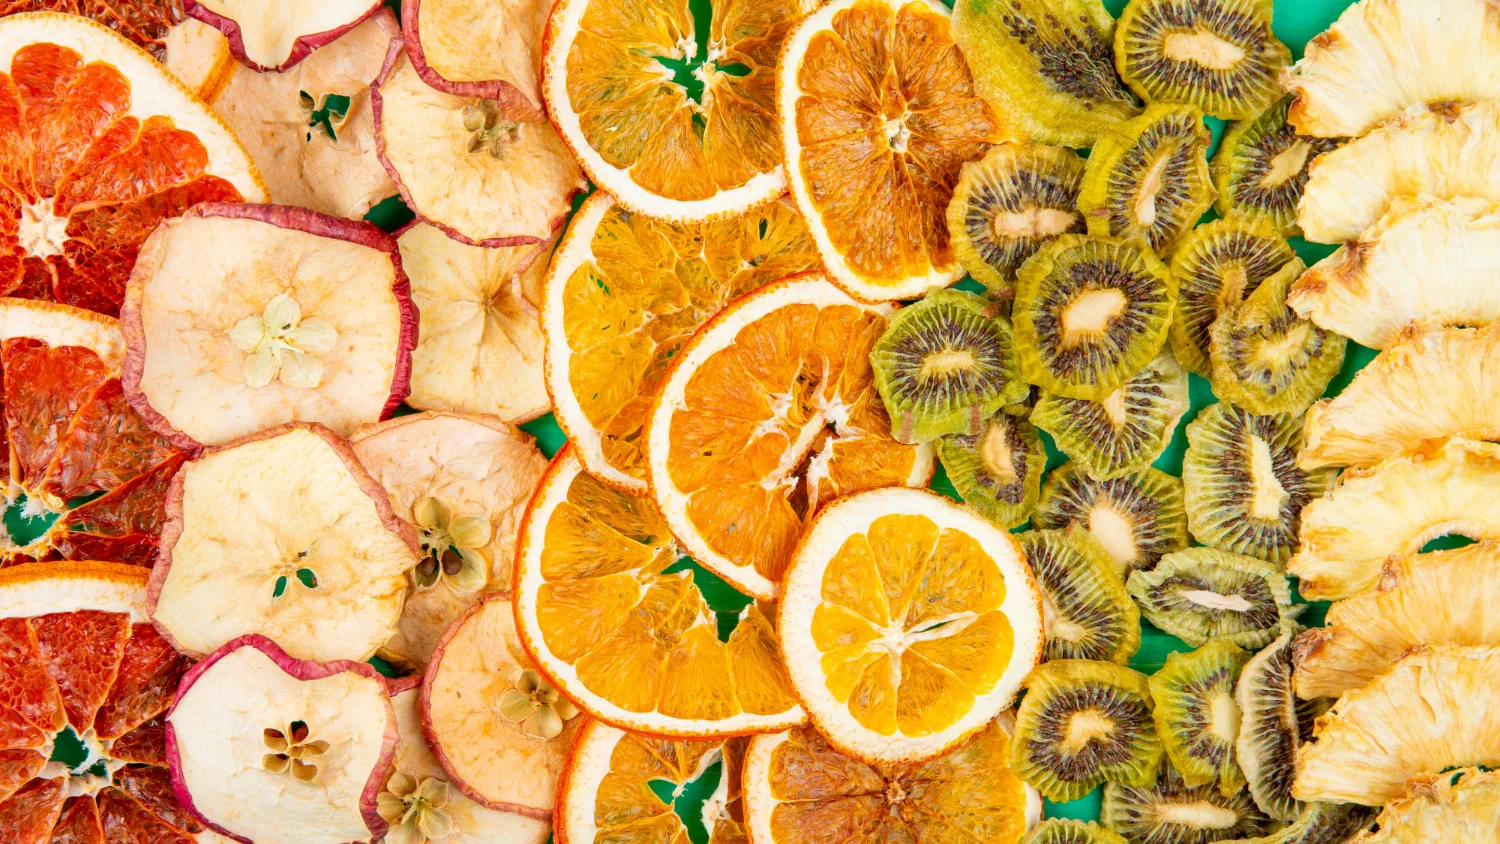
Drying looks like the easiest method — you slice, leave things alone, and wait. But, as often happens in the kitchen, the simplest things have character. A tomato does not just dry — it concentrates. An apple becomes sweeter. Herbs become more assertive. A hot pepper stops pretending to be harmless.
The idea is simple: drying is not a backup plan. It is a way to make flavor deeper.
What Drying Actually Does
Drying removes part of the water. Less water means more concentrated flavor. Less moisture also means better storage.
But if too much moisture remains, the product can grow mold. Drying is simple, but it is not careless. It does not ask for many ingredients. It asks for observation.
What We Can Dry at Home
The best thing about drying is that it does not begin with a grand philosophy. It begins with something you have more of than you can eat in time.
Fruits
- apples, pears, plums;
- figs, apricots, peaches;
- grapes and smaller fruits, but with more attention.
Juicy fruits need more time and thinner slicing. They are not difficult; they simply do not like being rushed.
Vegetables
- tomatoes, peppers, and hot peppers;
- zucchini, carrots, mushrooms;
- celery, onion, and garlic.
With vegetables, thickness and patience matter most. Especially with tomatoes, which very much like pretending they are easy.
Herbs
- thyme, oregano, basil;
- mint, lemon balm, rosemary;
- dill and parsley.
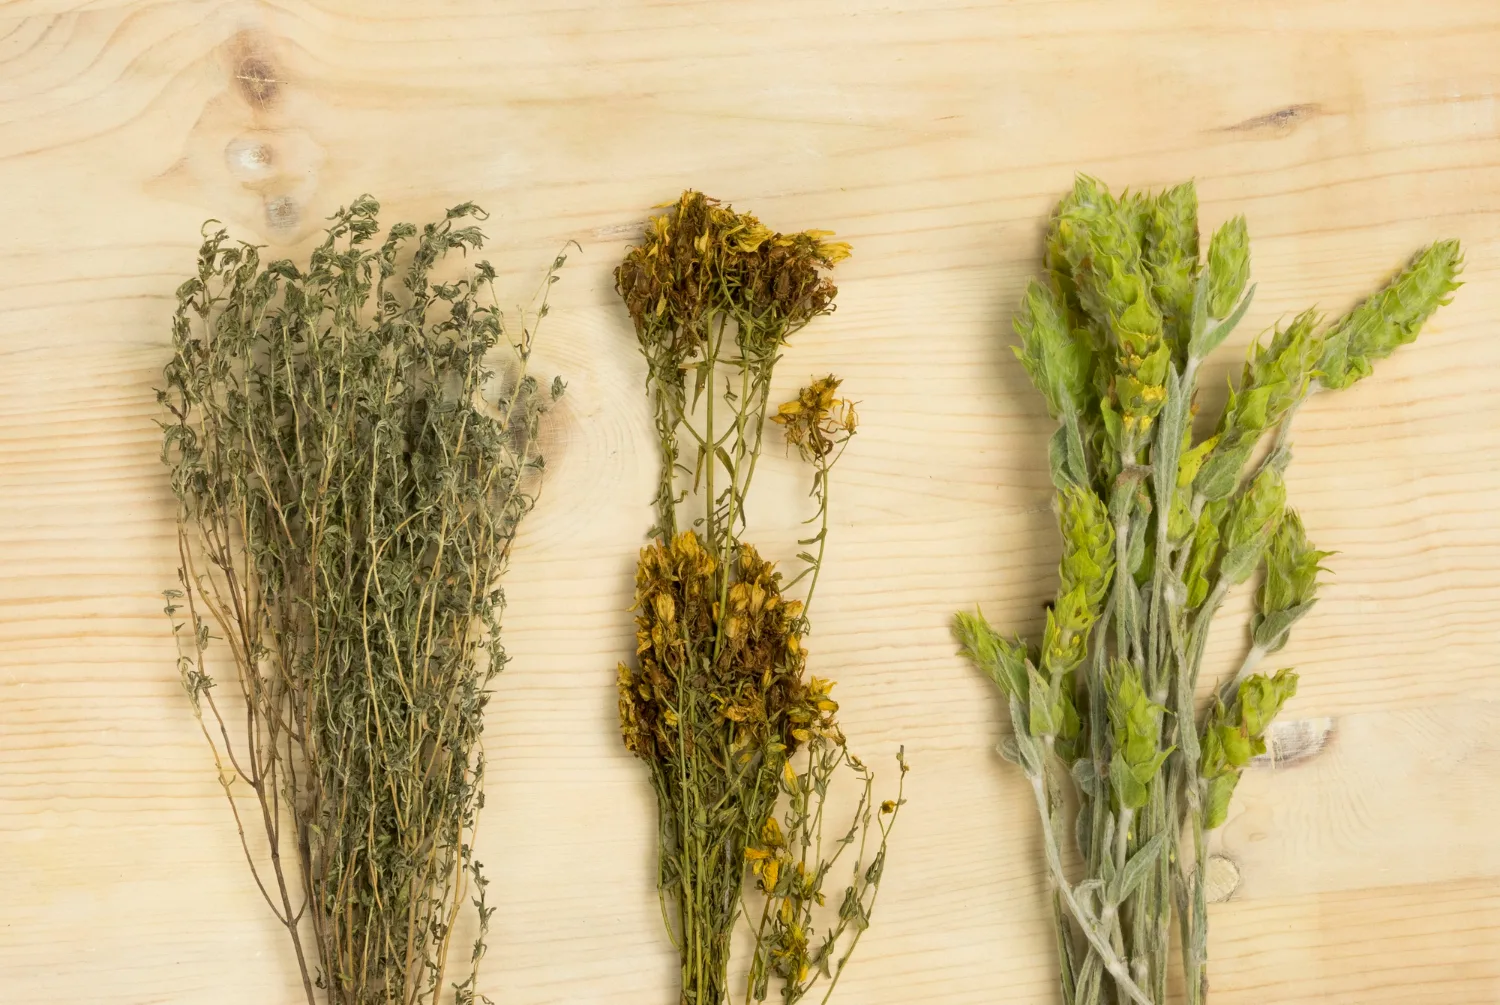
Herbs are the easiest place to start. They give quick results, and you get to feel successful without turning the kitchen into a production line.
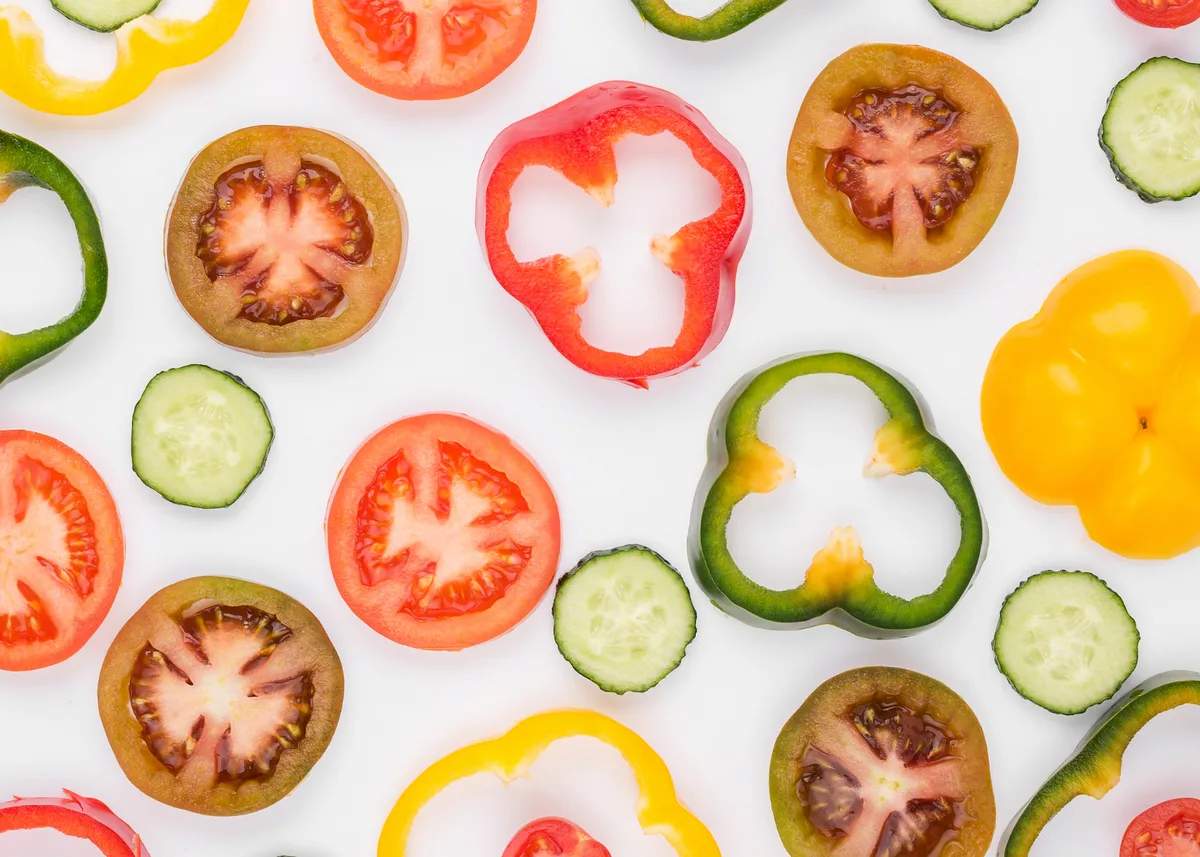
What Is Not a Good Idea to Dry Without Experience
Some products look like good candidates, but they are not. Or at least not for a first attempt.
- Very watery fruits — they can be dried, but they need more time, thinner slicing, and better control.
- Thick pieces of tomato — they may look ready on the outside while still holding moisture inside.
- Bruised or overripe fruit — drying does not save a spoiled product.
- Wet herbs — if you put them straight into a jar, you are almost inviting them to grow mold.
Important: if the fruit has already started heading toward the compost, the dehydrator will not bring it back to a respectable life. It is an appliance, not a time machine.
Preparation: Slicing, Cleaning, and Thickness
With drying, preparation decides half the result. The other half is patience, which we usually do not have, but at least we can pretend.
How to Slice
- apples — thin rounds or slices;
- plums — halves or quarters;
- apricots — halves;
- figs — halves or quarters;
- tomatoes — halves for cherry tomatoes, slices for larger ones;
- zucchini — thin rounds;
- carrots — thin strips or slices;
- mushrooms — thin slices;
- herbs — whole stems, leaves only, or small bunches.
The more water a product contains, the thinner you should slice it.
It is important to pat the products dry with a towel, keep the thickness even, avoid overlapping, and leave enough space for air to move between the pieces.
For sticky fruit, small herbs, and thinner pieces that like clinging to the tray, silicone dehydrator sheets can make drying and cleanup much easier.
Drying Methods
The method depends on the product, the quantity, the time, and most of all, how many nerves you want to invest. The sun is beautiful, the oven is accessible, and the dehydrator is controlled. Each has its price.
Air Drying
Suitable for herbs, hot peppers, and some flowers.
Pros: no appliance, inexpensive, beautiful.
Cons: dust, humidity, insects, and the fact that not everything enjoys hanging on a string.
Sun Drying
Suitable only in dry, hot weather and with good protection.
The sun sounds like Italy until flies, clouds, and doubts appear and you start wondering whether this is still cooking or already an experiment.
Oven Drying
Good for small quantities and a first attempt.
Pros: almost everyone has an oven.
Cons: it is hard to keep a low temperature, and sometimes it quietly moves from “drying” to “baking.”
Drying in a Dehydrator
The most predictable option for fruit, vegetables, tomatoes, and more serious quantities.
Pros: steady temperature, airflow, and a more even result.
Cons: it takes up space, makes noise, and becomes yet another appliance in your life.
Air Fryer With a Dehydrate Function
It is suitable for small quantities. If you already have one, try it. But do not expect to dry half the garden in it, unless you have a lot of free time and a particularly stable mind.
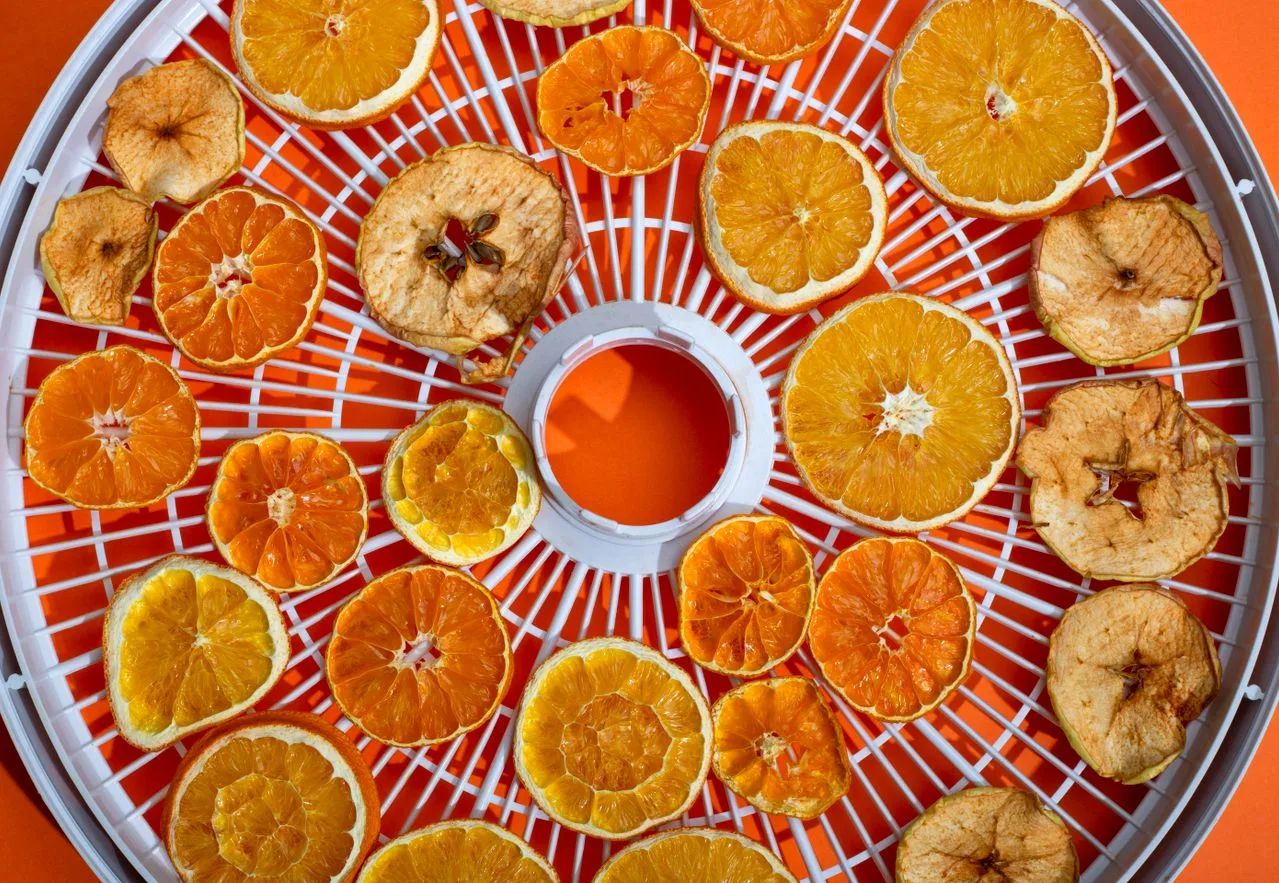
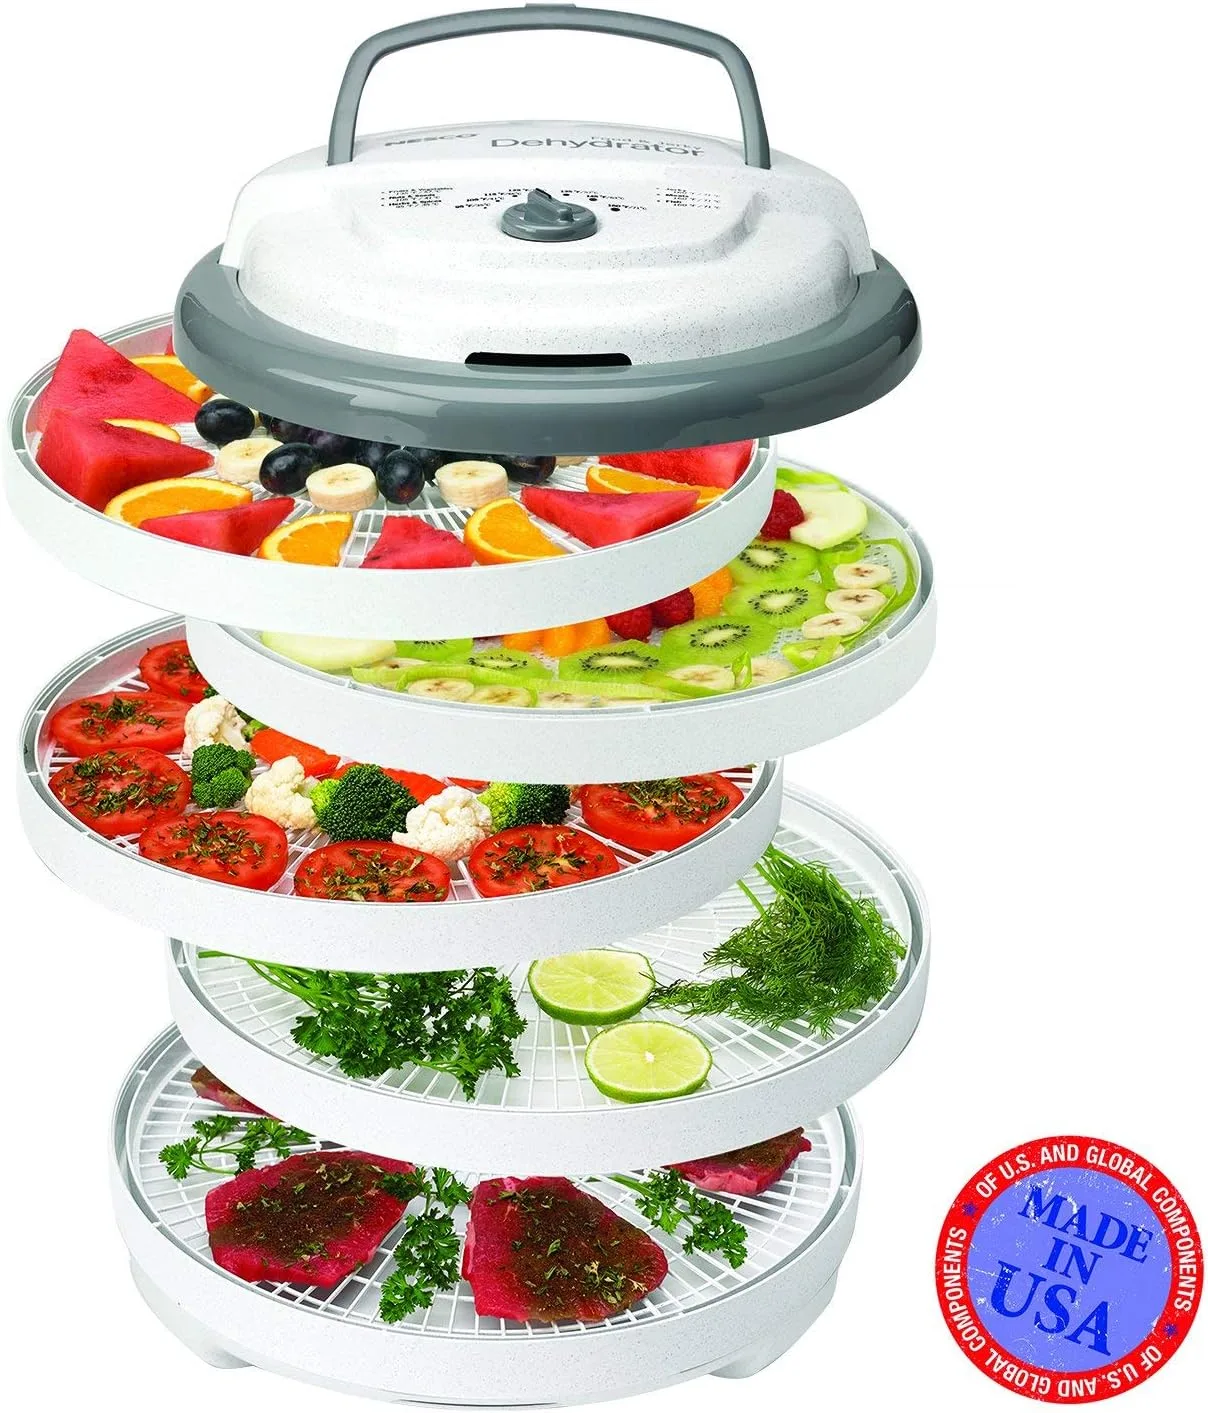
I recommend this if you want to dry more than one tray of fruit
A food dehydrator makes the most sense when you want to dry apples, tomatoes, herbs, mushrooms, or peppers regularly without watching the oven all day. It gives you steadier temperature and airflow, which is exactly what drying needs.
How to Choose a Food Dehydrator
Your first appliance does not need to be the biggest or most expensive one. But it is good to know what you are buying, so you do not end up with a dehydrator that mainly dries your enthusiasm.
Round Vertical Dehydrators
More affordable and good for a first try, but they often require tray rotation.
Rectangular Dehydrators
Usually with horizontal airflow. Better for tomatoes, fruits, and more regular use.
Metal Dehydrators
Sturdier, more expensive, and better suited for people who really plan to dry food regularly.
Important details: temperature control, timer, number of trays, easy cleaning, noise level, stable trays, and the option to use mesh or silicone sheets.
If you dry herbs or small pieces often, it is worth keeping a few dehydrator mesh sheets nearby, because tiny leaves and thin slices have a special talent for falling through trays.
Do not buy the largest dehydrator if you are not yet sure whether you will dry more than two handfuls of apples and your own enthusiasm.
Temperatures and Approximate Drying Time
Drying time depends on thickness, variety, moisture level, and appliance. Promising “exactly 6 hours” is a reliable way to give someone a tomato drama.
| Product | Preparation | Temperature | Approximate time | How it looks when ready | Storage |
|---|---|---|---|---|---|
| Herbs | Whole stems or leaves | 95–104°F / 35–40°C | 2–6 hours | Crumbly, dry, no moisture | In a dry jar, away from light |
| Apples | Thin slices or rounds | 122–140°F / 50–60°C | 6–12 hours | Pliable, but not wet | In a jar or vacuum-sealed bag |
| Plums | Halves or quarters | 131–149°F / 55–65°C | 10–18 hours | Soft, but without wet pockets | In a jar, vacuum-sealed bag, or freezer |
| Tomatoes | Halves or slices | 131–149°F / 55–65°C | 8–16 hours | Leathery/pliable, not juicy | Dry, dark, well sealed |
| Hot peppers | Whole or cut open | 113–131°F / 45–55°C | 6–12 hours | Light, dry, brittle | In a jar or dried on a string |
| Mushrooms | Thin slices | 113–131°F / 45–55°C | 4–8 hours | Dry, light, brittle | In a jar, away from light |
How to Know When It Is Ready
With drying, “almost ready” is not a very useful category. Either it is dry, or later the jar will explain that it was not.
The safest indicator is moisture. There should be no visible moisture, and when squeezed, the product should not release juice. Fruits may remain slightly pliable, but they should not be sticky-wet.
Herbs should crumble. Peppers should be light and dry. Mushrooms should be dry and brittle.
Let everything cool completely before closing it in jars. After a few days, check the jar for condensation. If the jar sweats, it is not emotional. The product was simply not dry enough.
How to Store Dried Fruits, Vegetables, and Herbs
Dried products do not take up much space, but they do need proper storage. Otherwise, all that work goes into the category of “I had a good idea, but I sealed it while it was still damp.”
Good Options
- glass jar;
- vacuum-sealed bag;
- freezer for extra safety;
- a dark, dry, cool place.
For small batches of herbs, dried apples, tomatoes, or peppers, wide-mouth Mason jars are practical because they are easy to fill, easy to check, and easy to clean.
For Short-Term Storage
- paper bag;
- cloth bag;
- open jar, if you are still checking for moisture.
What Not to Do
- do not keep dried products in the sun;
- do not seal warm products;
- do not mix fully dried products with half-dried ones;
- do not store damp herbs.
For longer storage, especially if you make larger batches, a vacuum sealer can help keep dried products neater and better protected from air and moisture.
How to Use Dried Products
This is where drying starts paying back. Not with grand promises, but with small things that save dinner, soup, salad, or cheese.
Dried Tomatoes
- pasta;
- pesto;
- focaccia;
- salads;
- sauces;
- omelets;
- cheese boards.
Dried Fruits
- muesli;
- tea;
- cakes and bakes;
- cheese boards;
- salads;
- stuffings;
- gifts in a jar.
Vegetables and Herbs
- soups;
- stocks;
- stews;
- homemade spice mixes;
- tomato or mushroom powder;
- herb salt;
- marinades.
Dried products are small kitchen cheats in the best sense. It looks as if you thought ahead. And this time, you actually did.
The Most Common Mistakes
Most drying problems do not come from lack of talent. They come from rushing. And rushing in the kitchen rarely makes things tastier.
Dried tomatoes in oil are a separate topic. They are delicious, but they are not a jar to forget on the shelf. Especially if garlic and fresh herbs are involved. We will talk about them properly in a separate article.
Mini Recipe: Dried Apples With Cinnamon
A good starting point for drying at home, especially if you are not yet sure whether this is your thing
Ingredients
- apples;
- lemon juice, optional;
- cinnamon, optional.
Method
- Slice the apples into thin rounds or slices.
- If you want them to darken less, sprinkle them lightly with lemon juice.
- Add a little cinnamon if you like that flavor.
- Arrange the slices without overlapping.
- Dry at a low temperature in the oven, dehydrator, or air fryer with a dehydrate function until pliable but not wet.
- Let them cool completely and store them in a dry jar or vacuum-sealed bag.
When Drying Makes Sense — and When It Does Not
Drying makes sense when you have surplus produce, want concentrated flavor, do not have space for many jars, want small quantities with big impact, or like keeping spices and useful additions close at hand.
It does not make sense when the fruit is poor quality, you do not have time to watch the process, you expect the dehydrator to perform magic without preparation, or the finished product is cheaper and better when bought.
Drying is not the fastest method, but it is one of the most rewarding. It does not fill the basement, does not require a cauldron, and does not insist that you behave like the heroine of an August epic. It simply takes away the water and leaves the flavor.
Related Articles From the Homemade Preserving Series
This post may contain affiliate links. As an Amazon Associate, I earn from qualifying purchases.