
If the idea of growing your own vegetables has caught your attention, sooner or later you will probably come across those beautiful photos of raised garden beds. That is exactly what happened to me.
When I first saw them, I was immediately enthusiastic. First, because they looked beautiful. And second, because they seemed like a way to make a vegetable garden more organized and much easier to maintain.
My idea of gardening definitely does not involve endless digging and other exhausting jobs. I prefer the work to leave some time for actually enjoying the garden.
If I can grow tomatoes without spending half my time holding a hoe, that already sounds like a very good gardening concept to me.
What are raised garden beds?
Put simply, raised beds are boxes or bottomless containers built directly on the ground.
You decide how high they should be, how wide and long they should be, what material to build them from, and what soil to fill them with.
If you have ever had a vegetable garden, you already know how much time can disappear into fighting weeds. They have an impressive ability to grow faster and more confidently than almost anything we planted on purpose.
Raised beds do not make weeds disappear completely, but they give you far more control over the soil and over the growing space itself.
What materials can you use for raised beds?
Raised beds can be built from wood, stone, brick, concrete blocks, or metal.
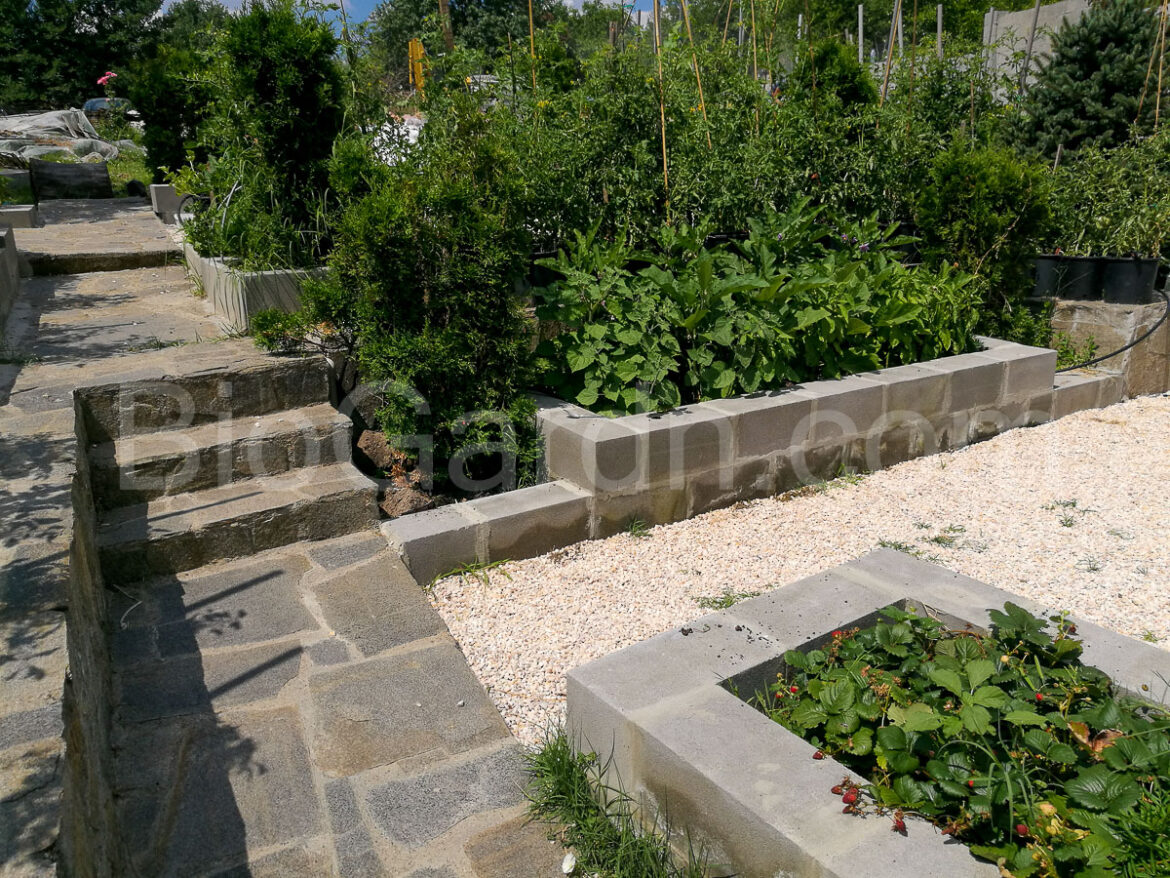
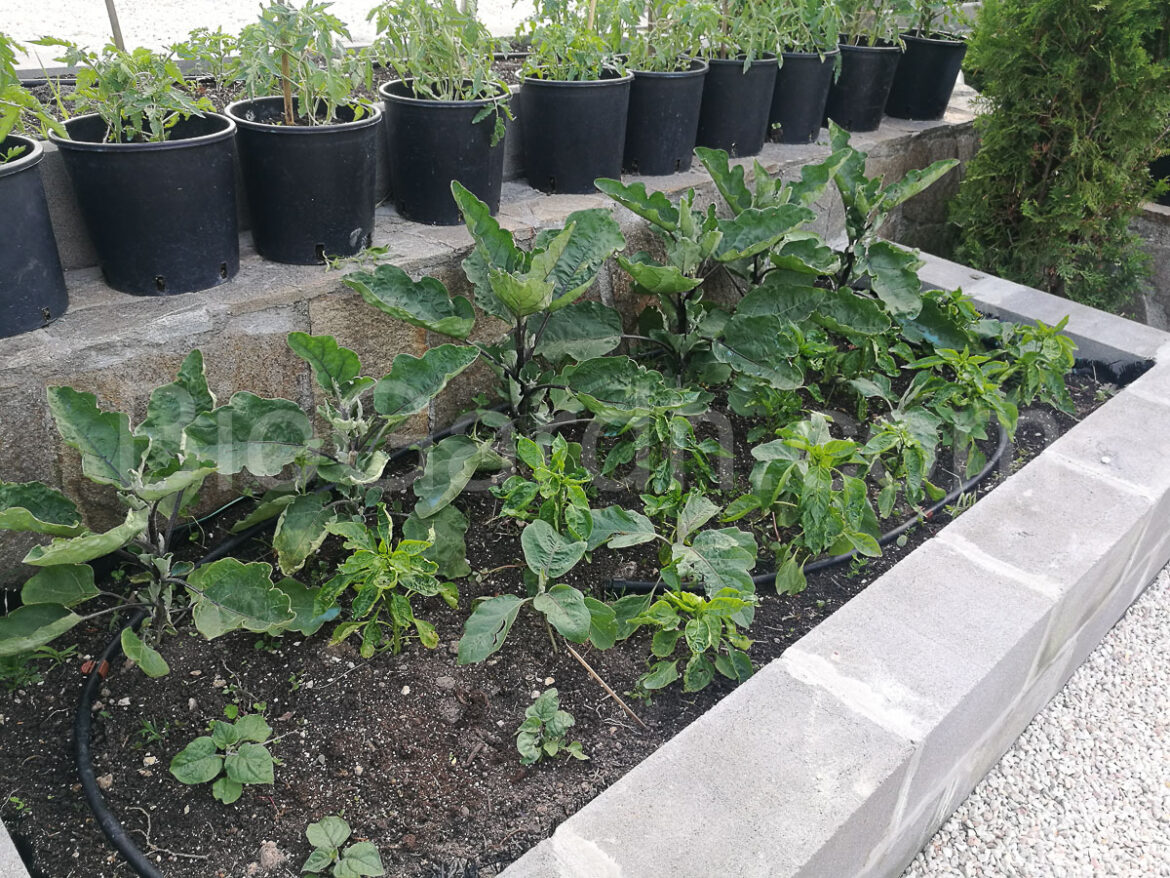
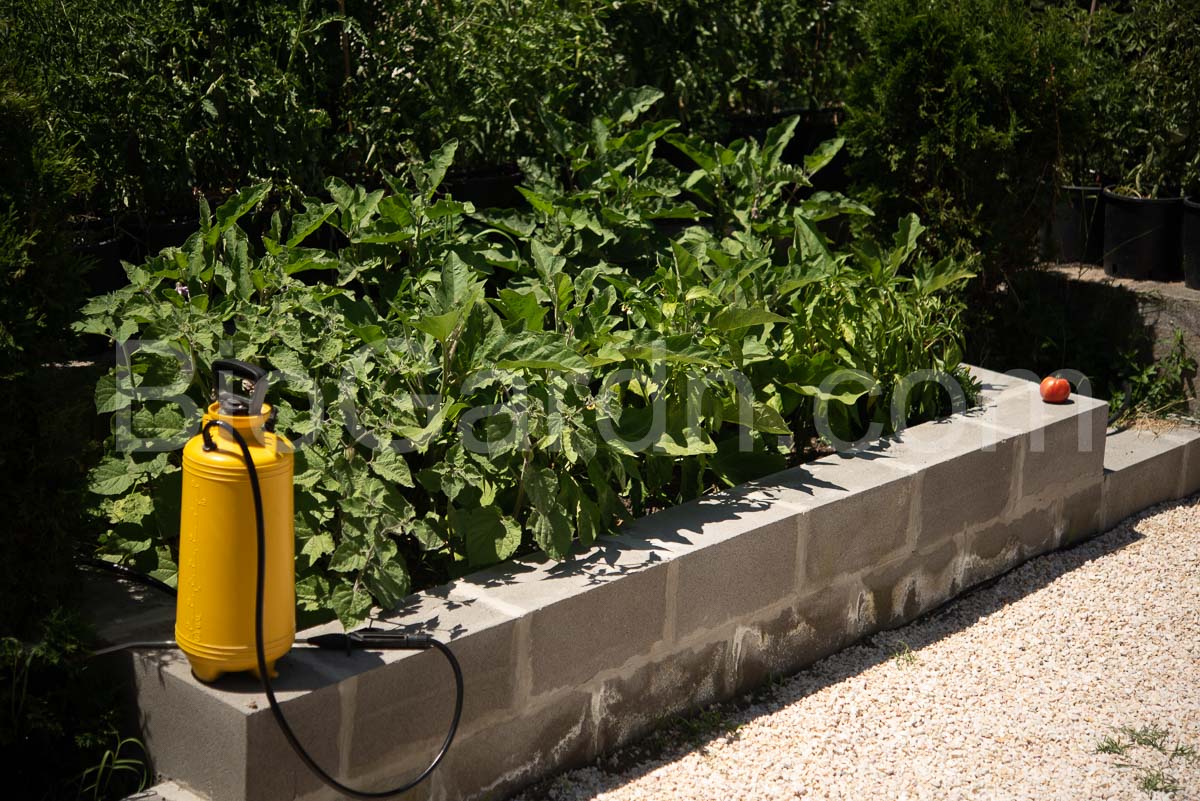
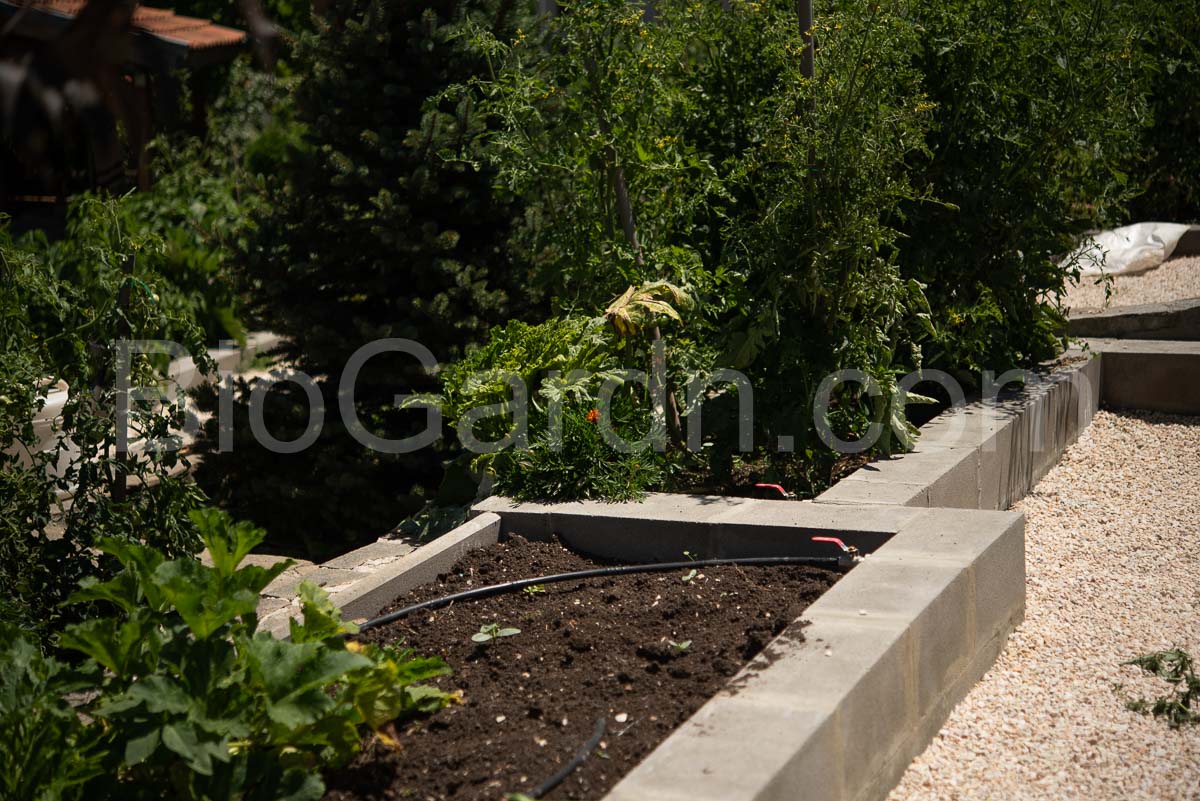
We chose concrete blocks. One reason was that the garden already had stone elements, so the material looked natural alongside them.
The other reason was purely practical: I wanted a structure that I would not have to replace after only a few seasons.
For wooden raised beds: I would avoid old railway sleepers or timber with an unknown chemical treatment when growing vegetables.
After several seasons I can say that the concrete blocks have worked well for us.
Moisture has caused some discoloration and growth on the outside of the blocks, but in our case this has been more of an aesthetic than a practical problem.
What size should raised beds be?
My beds are high enough for me to sit comfortably on the edge.
They are also narrow enough for me to reach the opposite side with an outstretched arm, without having to step inside.
In my opinion, this is one of the most important dimensions to decide before you start building.
As the years go by, you begin to appreciate gardening while sitting down more and more. If lying down were an option, even better. These things are worth planning in advance. 🙂
If I were building the beds again, I would add wooden seating boards on top of the concrete blocks.
They would make the beds more comfortable to sit on and give the whole structure a more finished appearance.
How we prepared the base and the soil
Our first job was preparing the base.
I used landscape fabric, which allows water to drain through while helping to limit weeds coming up from the soil underneath.
Some gardeners also add fine mesh as protection against rodents. Cardboard can also be used, depending on how the bed is constructed.
What soil did we use?
One of the big advantages of a raised bed is that you can control the soil that goes into it.
Especially if you are starting with only one bed, I personally would not try to save too much money on the soil.
We used good woodland soil containing well-decomposed leaves, mixed it with some of the existing garden soil, added a little perlite, and used a generous amount of worm castings.
I wanted a loose, well-drained and fertile soil without stones and with as few weeds as possible.
My most important rule for a raised bed is simple: do not dig it and do not step inside it.
When we do not compact the soil by walking on it, it stays loose and the need for constant digging is greatly reduced.
What about Hügelkultur beds?
There are also so-called Hügelkultur beds, where layers of organic material are placed inside the structure and gradually break down over time.
I chose the faster, although more expensive approach: good soil from the start, enriched with organic matter.
From a purely practical point of view, I did not want to wait for all the wonderful processes inside an improvised compost pile to finish.
It is also worth remembering that organic material gradually settles, which means that additional soil or compost may need to be added in later seasons.
Do not underestimate the soil already available in your garden. If its structure is suitable, some of it can be reused and gradually improved with organic matter.
How we finished the space between the beds
To me, the space around the beds is almost as important as what is inside them.
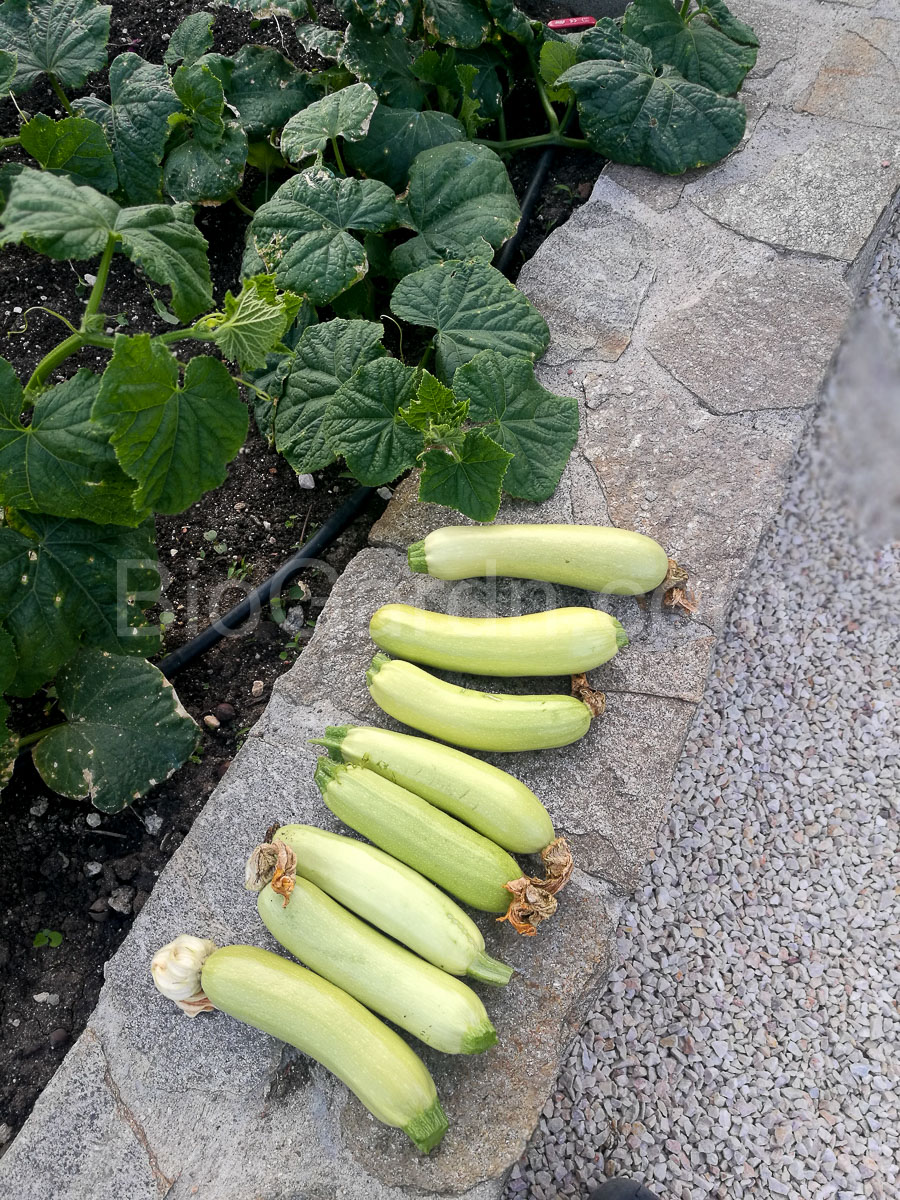
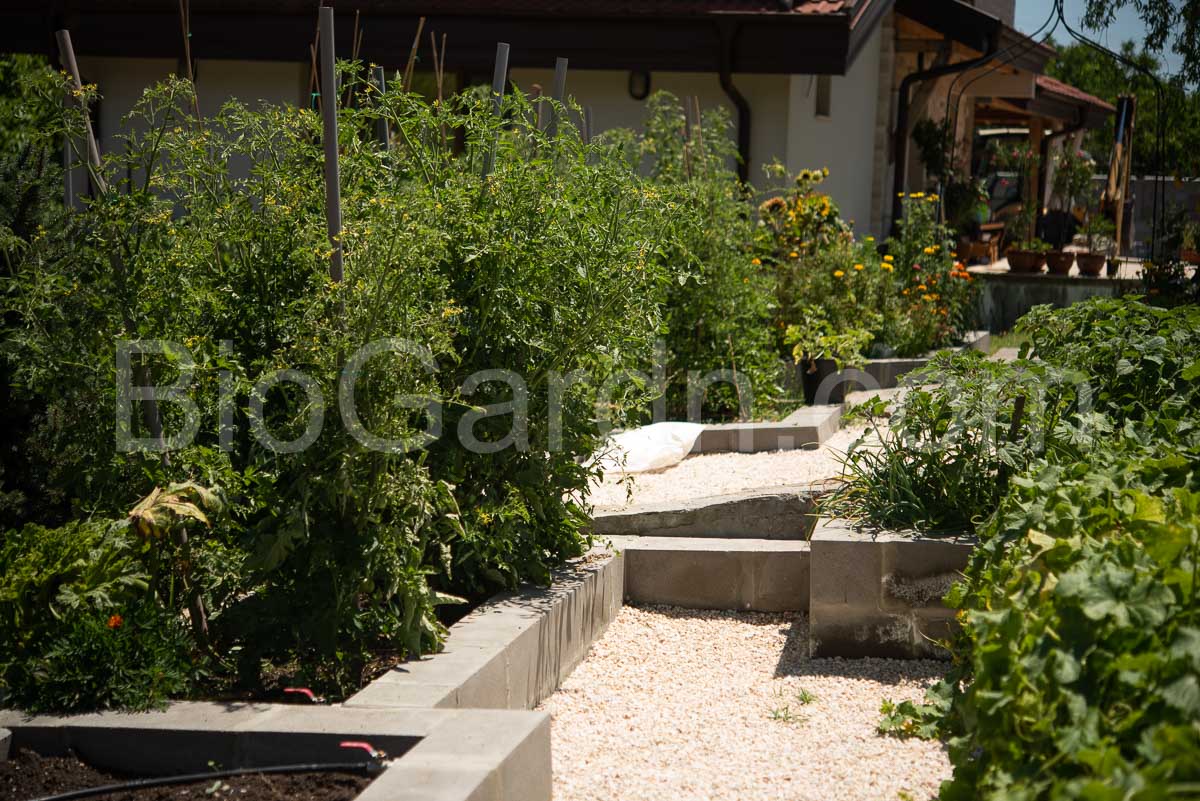
Between our raised beds we installed a weed-suppressing layer and covered it with fine gravel.
This has two very practical advantages: there are fewer weeds between the beds, and after rain we can walk into the vegetable garden without carrying half the mud back out on our shoes.
Visually, the gravel also makes the whole area look cleaner and more finished.
What I managed to grow in the first season
My first season with raised beds was, to put it diplomatically, experimental.
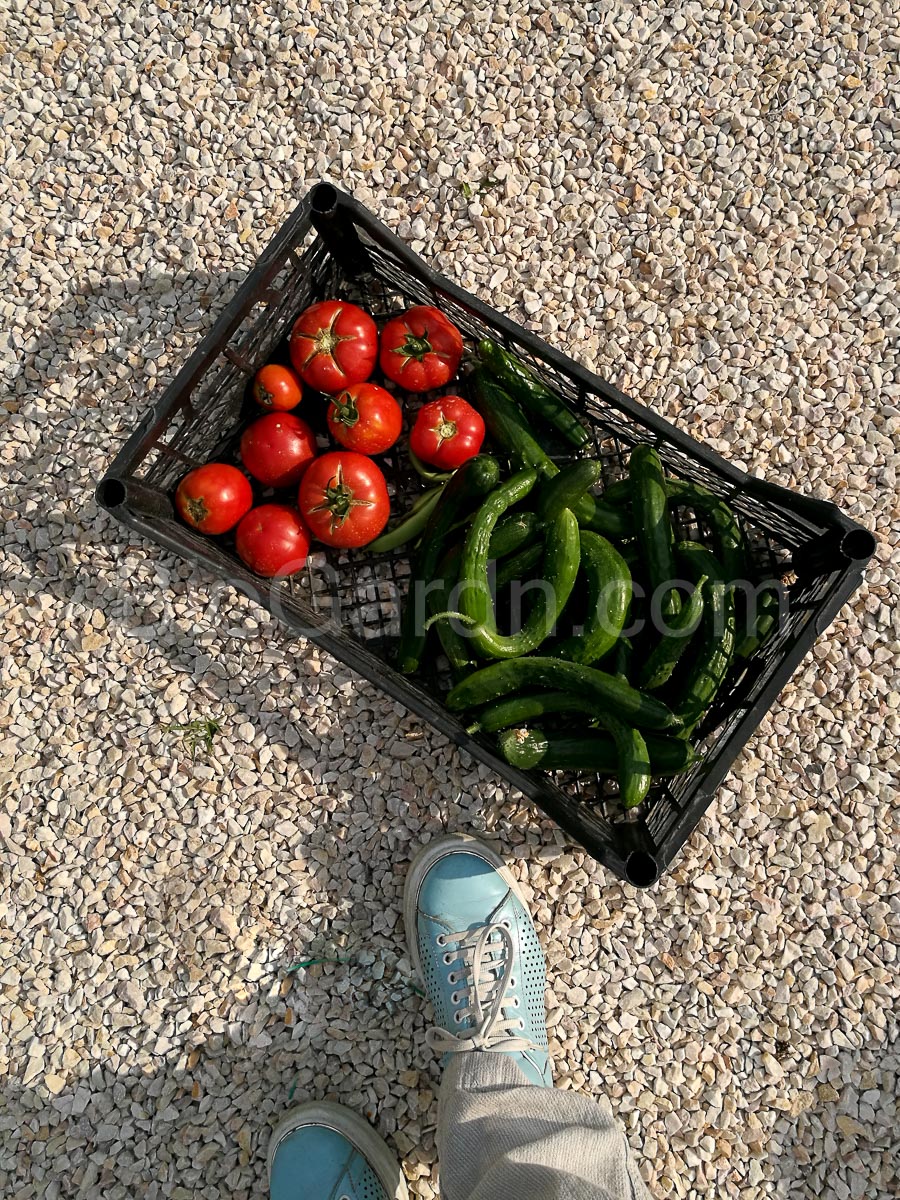
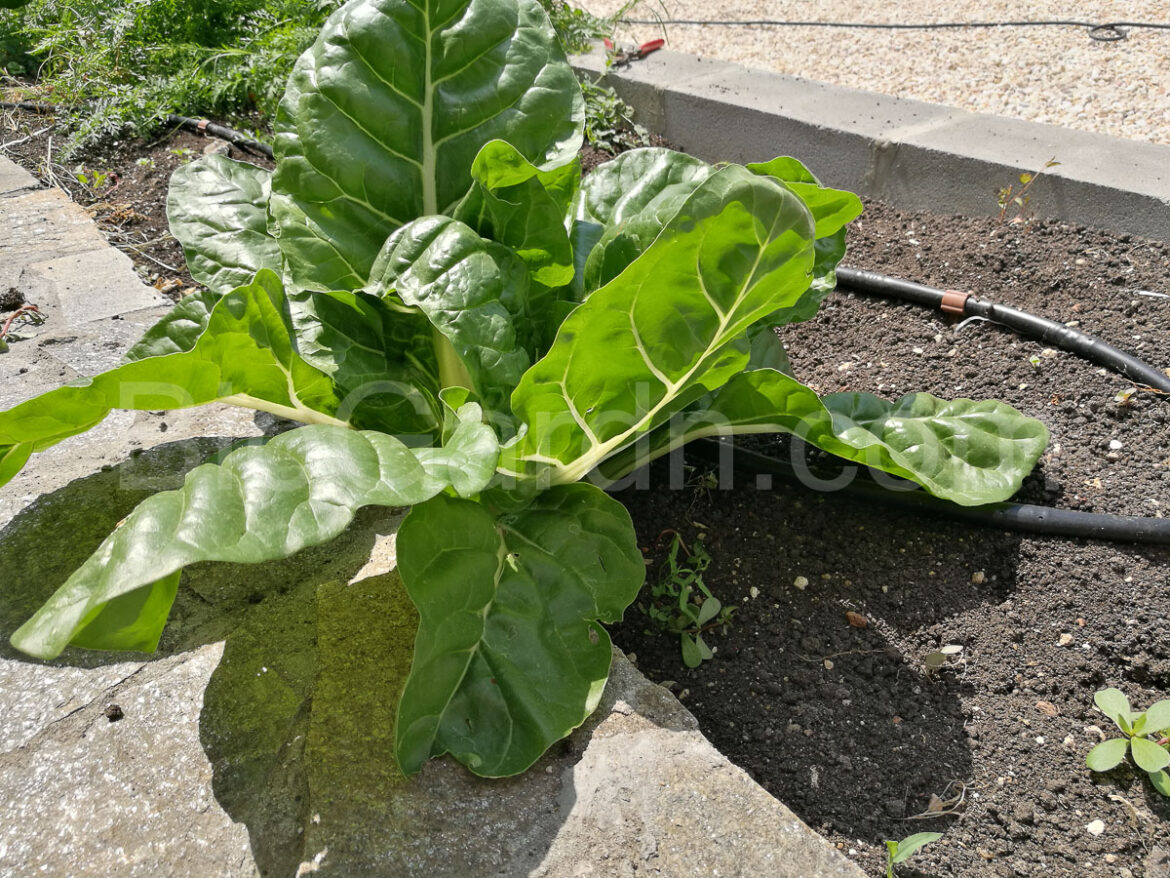
But it was also surprisingly successful.
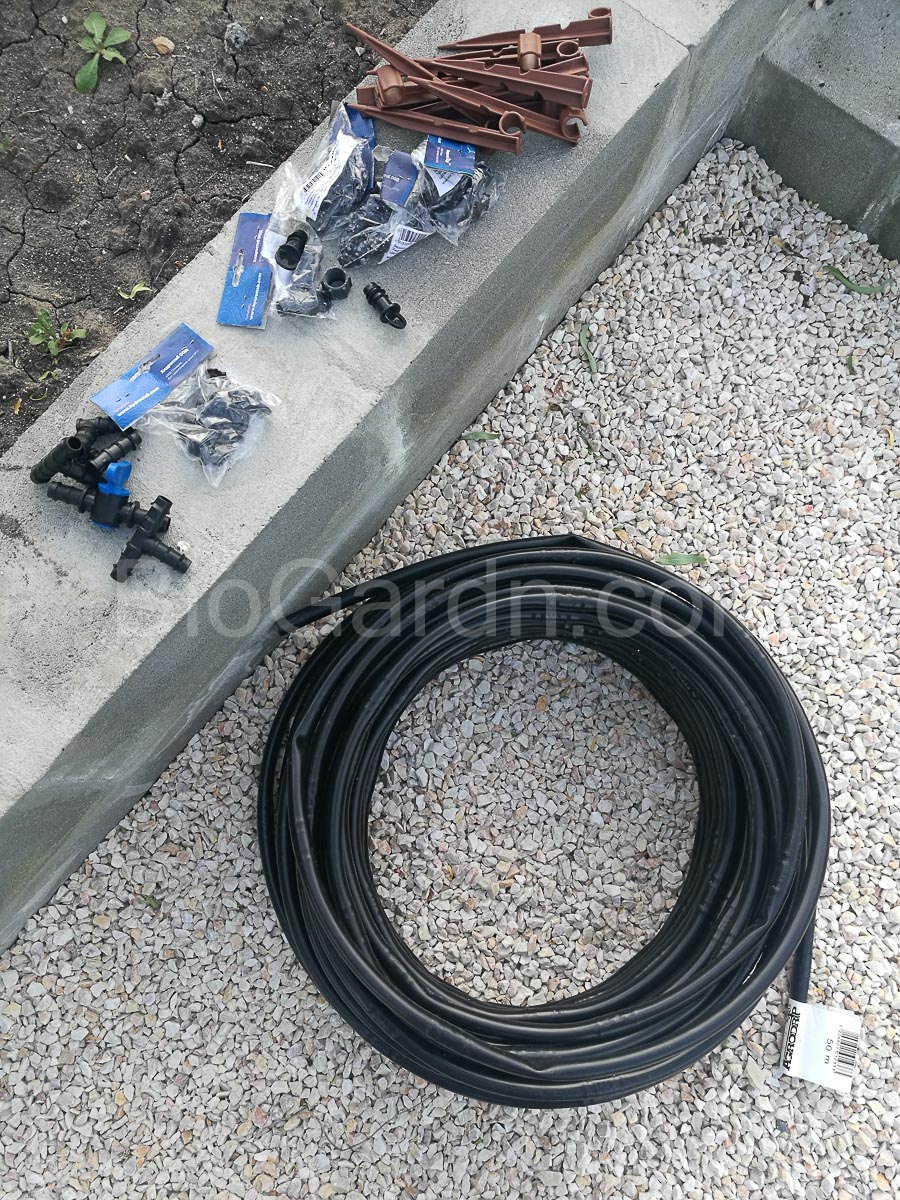
All of our beds have drip irrigation, which makes everyday care much easier.
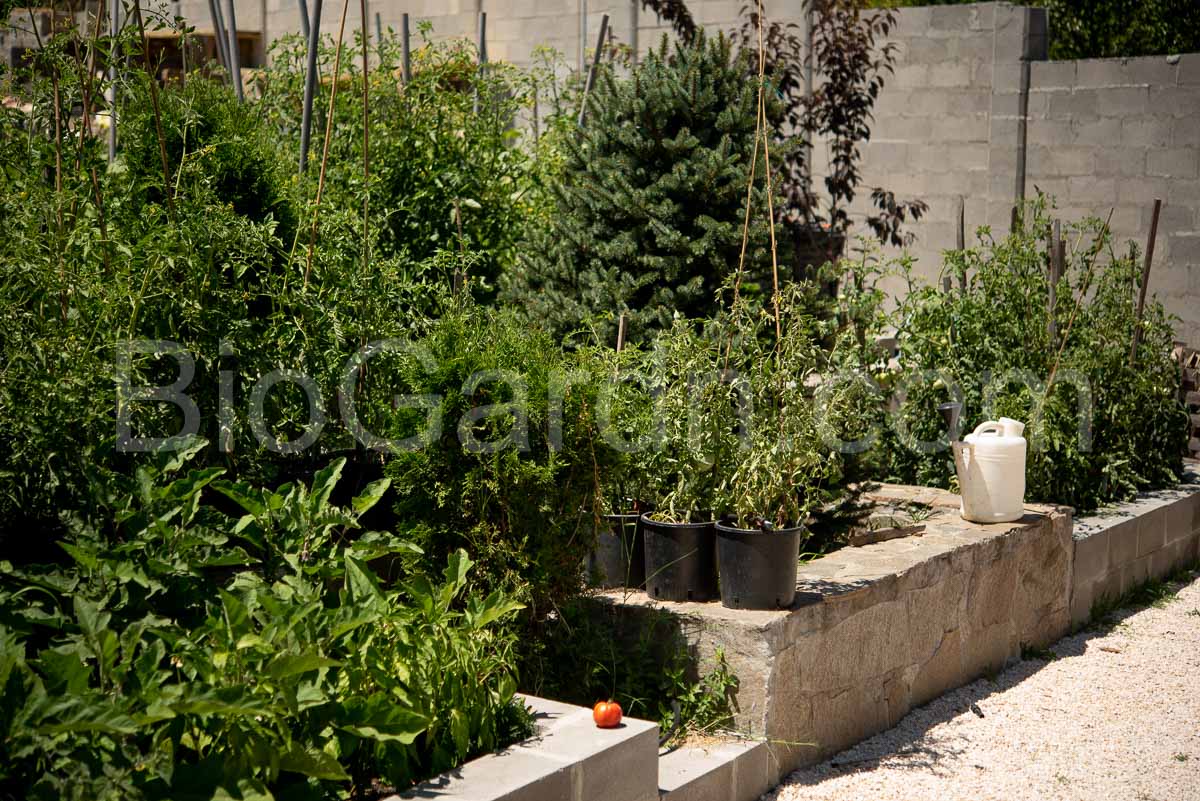
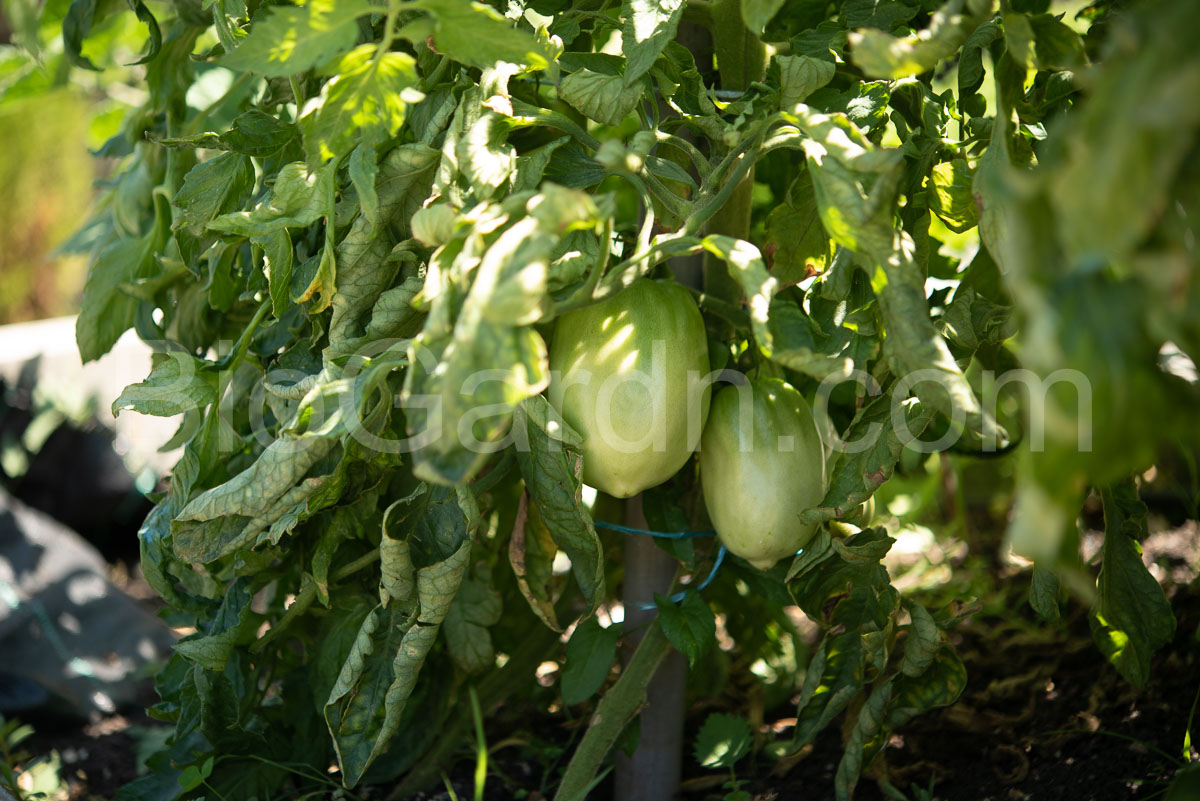
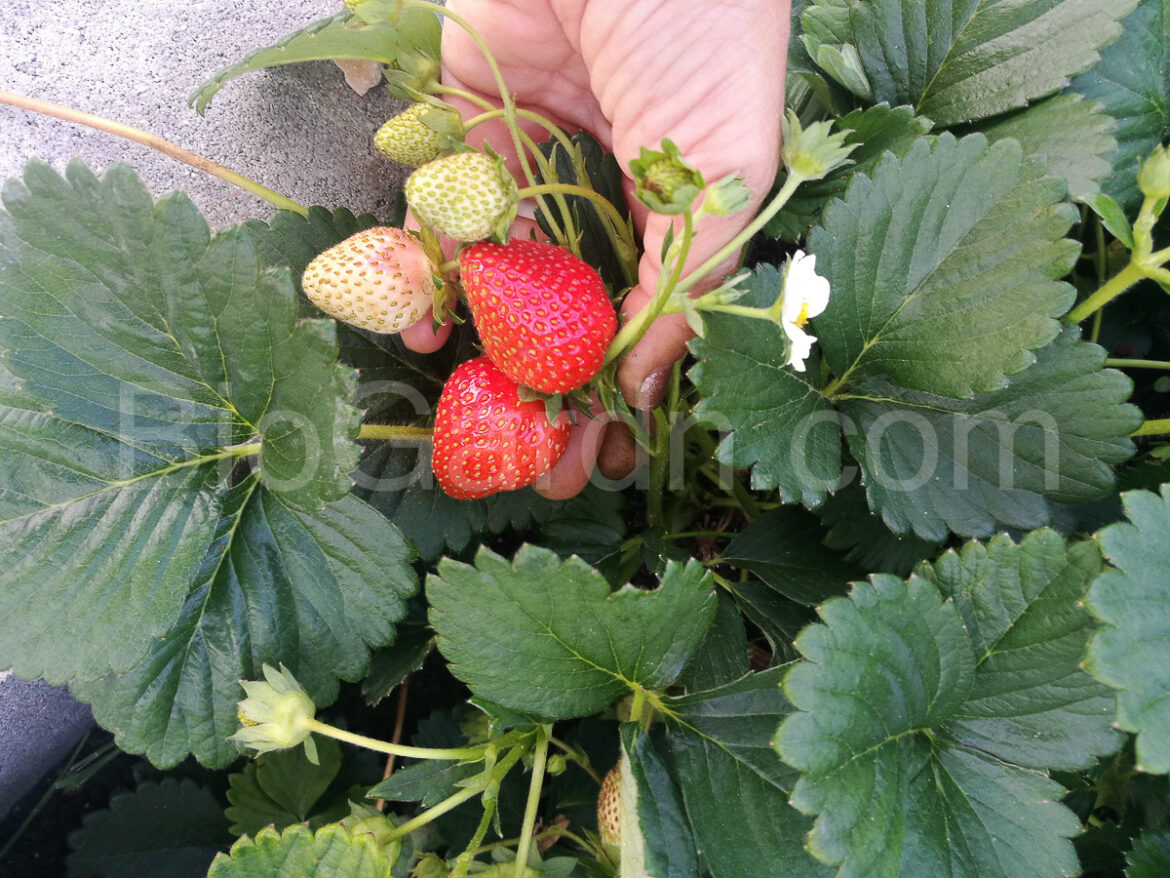
Physalis was one of the pleasant surprises of the season.
And all of this happened without using a hoe.
The main tools I used were a small hand trowel for planting and pruning shears for trimming and removing tomato side shoots.
Do weeds still grow in raised beds?
Yes, of course.
Weed seeds arrive with the wind and land on the soil, no matter how carefully the base has been prepared.
In my beds, however, there were relatively few and I could easily pull them out by hand.
The soil stayed loose, and during the first season I did not need to dig it or add any additional fertilizer.
What I learned about seedlings and tomatoes
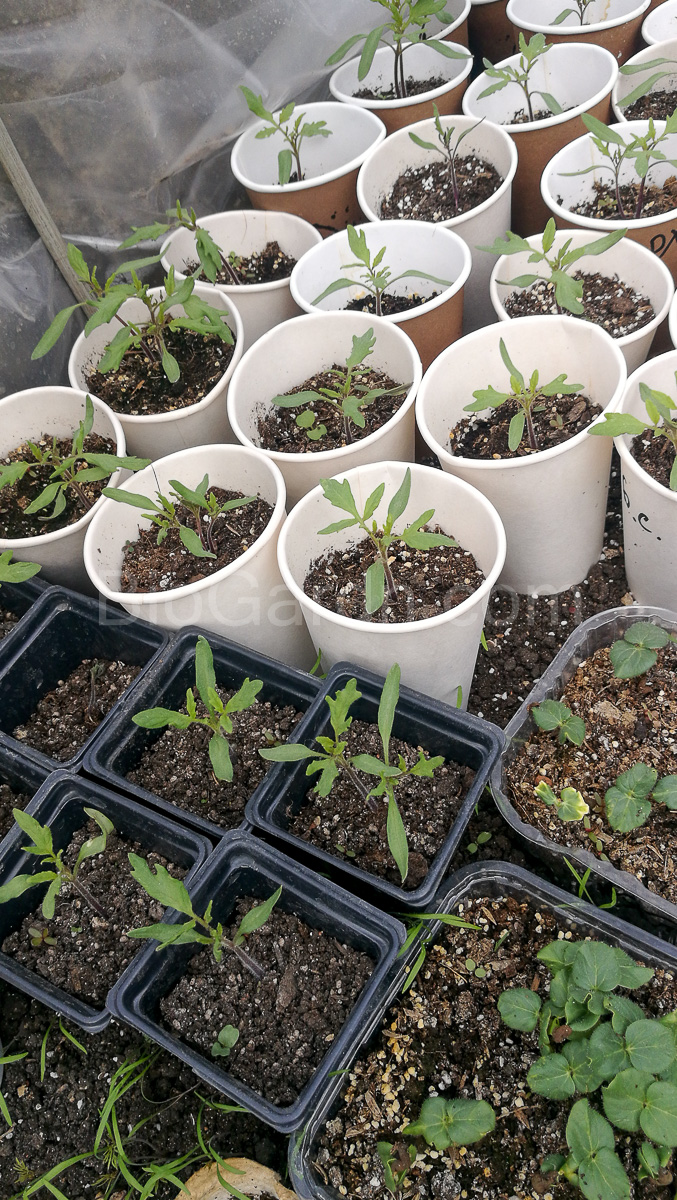
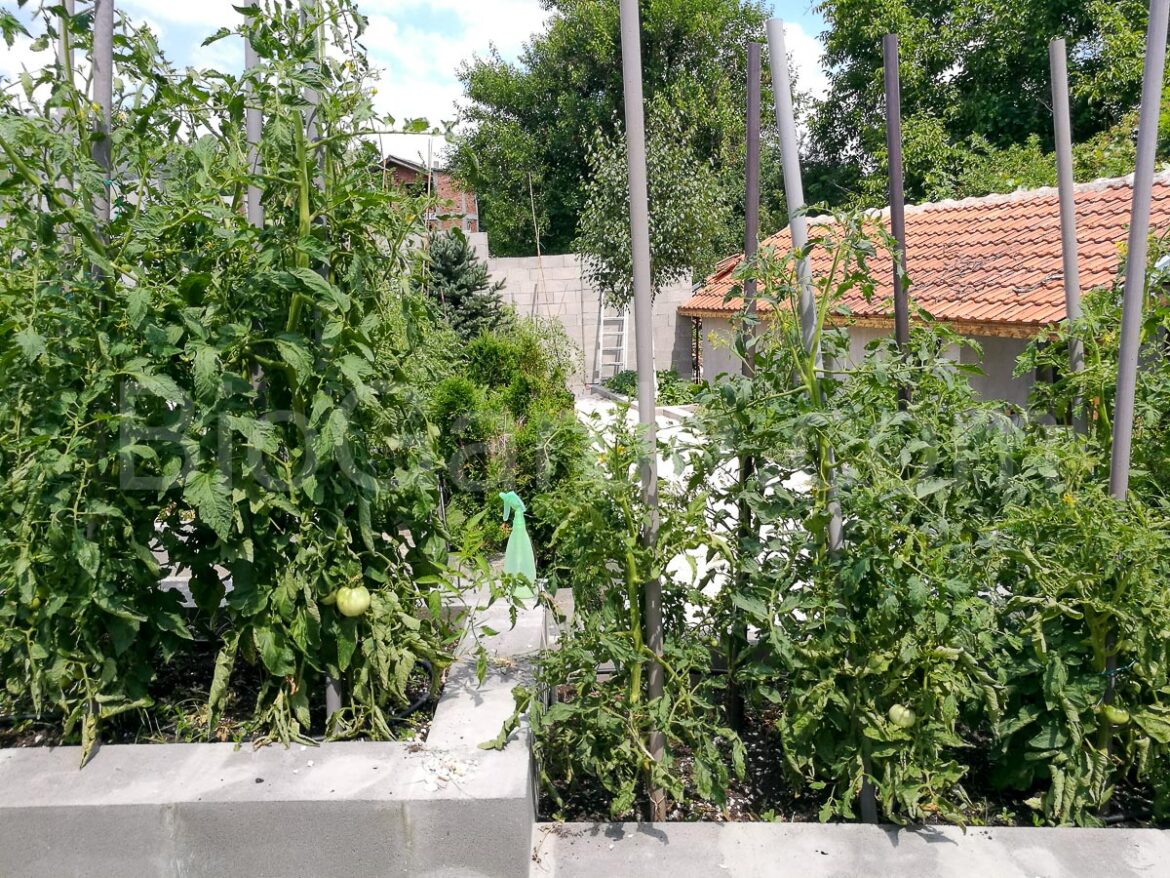
Almost all of the tomatoes, except for the earliest ones, were grown from my own seedlings.
I sowed them in seedling trays at the beginning of March and kept them outdoors in a small greenhouse, because the weather allowed it at the time.
This helped the young plants gradually harden off.
To be perfectly honest, I did not have particularly high expectations for those seedlings.
My very practical plan was that, if they failed, I would simply buy plants from the market.
As often happens in the garden, the problem turned out to be exactly the opposite: I produced more seedlings than I had space to plant.
Some of the tomatoes eventually had to go into containers.
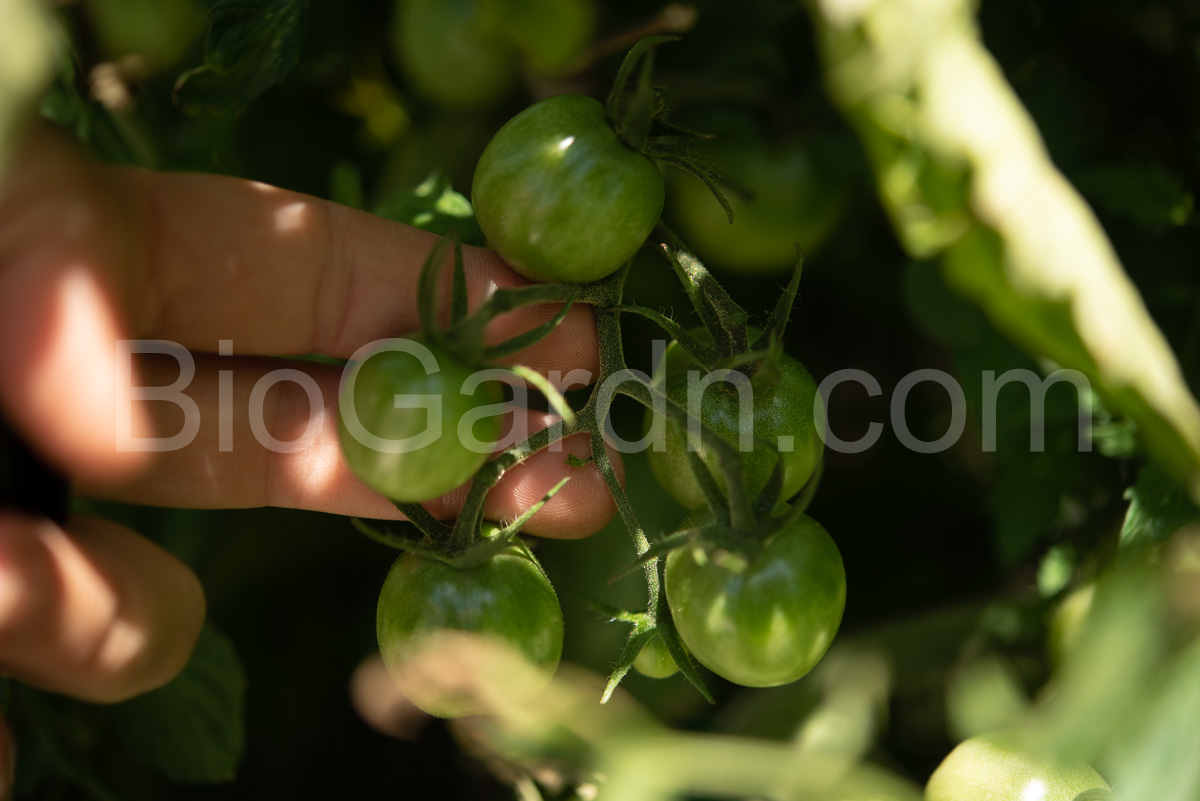
Quite a few turned out to be Black Cherry.
The tomatoes are delicious, but in my garden they were so productive that I simply did not have time to pick them all.
I did not find them particularly practical for preserving, but for fresh eating and drying I liked them very much.
Would I build raised beds again?
Yes.
Not because they remove every bit of work from a vegetable garden. Unfortunately, nobody has invented that yet.
But for me they made the work far more organized, more comfortable, and much closer to the way I actually want to use my garden.
A raised bed does not make gardening effortless. It simply removes some of the effort I never particularly enjoyed in the first place.